

Introduction
The Vesta is an open source web hosting control panel that provides a set of features to manage domains, emails, databases, DNS, backups and much more. This article will walk you through installing and configuring Vesta on Ubuntu 18.04 server.
Prerequisites
To follow this guide, you'll need a fresh Ubuntu 18.04 server with at least 2GB of RAM and a valid DNS name pointing its A record to your server IP address.
Create and configure a new Instance.
Once you have your instance up and runing, login via ssh to begin.
Step 1 - Download and Install Vesta
First, make sure all the packages in the system are up-to-date by issuing the following commands:
$sudo apt-get update
$sudo apt-get upgrade
Next, download the Vesta Control Panel installation script and make it executable:
$curl -O http://vestacp.com/pub/vst-install.sh
$sudo chmod u+x vst-install.sh
Generate the install command
Vesta provides an intuitive form for generating the custom install command. Visit this page https://vestacp.com/install/, scroll down, and find the Advanced Install Settings section.
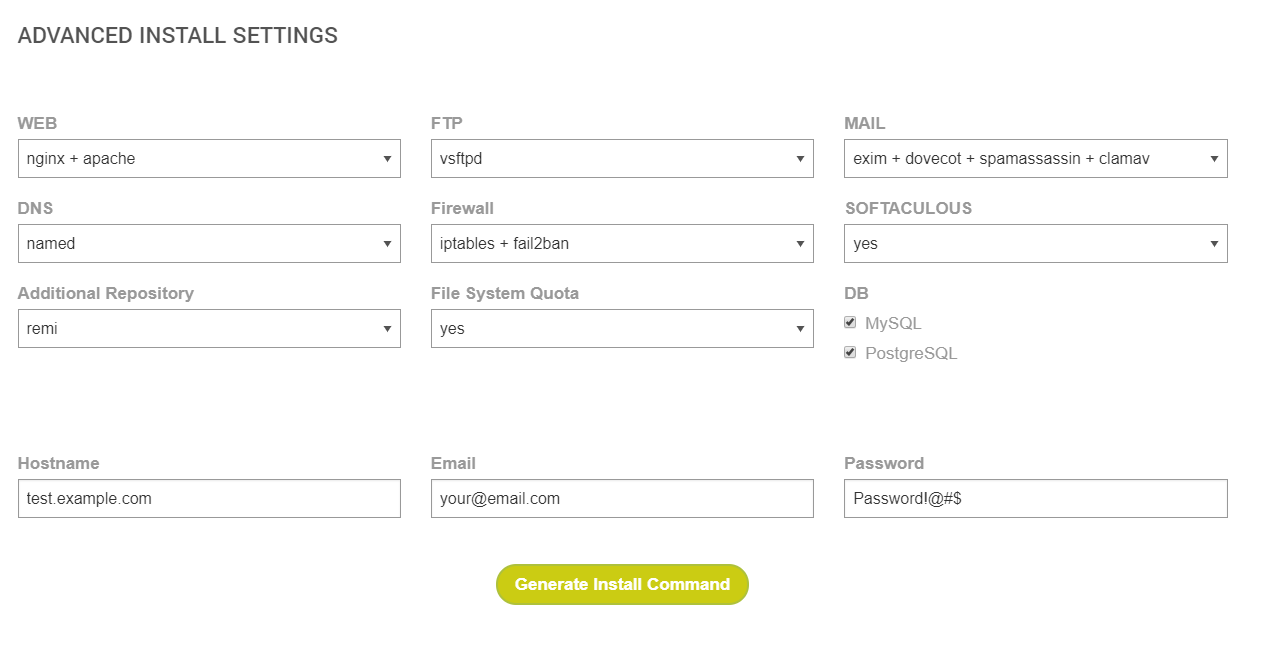
Chosse the Advanced Install Settings according to your needs.
- In the Web option, choose
nginx + apacheif you plan to use a reverse proxy later. - In DNS choose
namedif you want a DNS server. Otherwise, chooseNo. - If you want an extra repository for packages, then select
Remiin Additional Repository. - In the FTP option we have two options.
vsftpdorproftpdas an FTP server. - For Firewall we have options with
iptables + fail2ban,iptablesonly, ornofirewall at all. It is advisable to use firewall for a secure system. - If you are going to use VestaCP as Shared Web Hosting then choose File System Quota, to
yes. Otherwise, chooseno. - In the Mail option, the most complete is
exim + dovecot + spamAssassin + clamav. ClamAV will protect against viruses, trojans, malware & other malicious threats, but it raises significant server CPU load. SpamAssassin will protect from spam messages. - Softaculous is a commercial script library that automates the installation of commercial and open source web applications. This option will require additional license.
- In DB choose the databases you will use.
- Finally, type the Hostname, your email and a password.
Clicking the Generate Install Command button will generate the command to use.
$bash vst-install.sh --nginx yes --apache yes --phpfpm no --named yes --remi yes --vsftpd yes --proftpd no --iptables yes --fail2ban yes --quota yes --exim yes --dovecot yes --spamassassin yes --clamav yes --softaculous yes --mysql yes --postgresql yes --hostname test.example.com --email [email protected] --password Password!

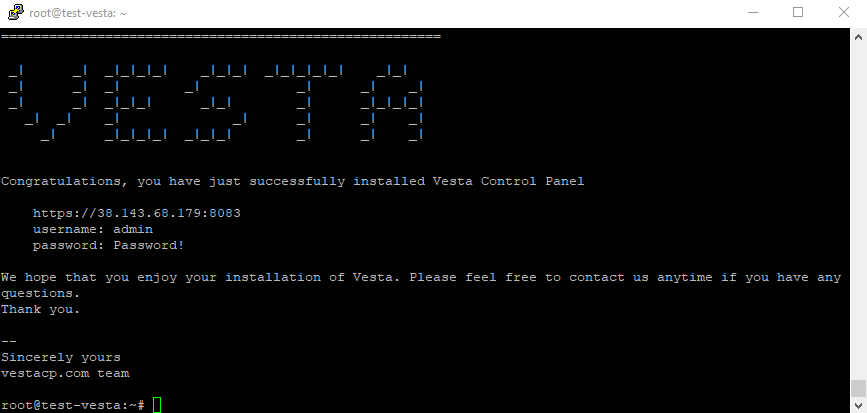
The above installation process should take no more than 10 minutes. Upon completion, Vesta will provide a link, username and password to log in to the control panel.
Step 2 - Configuring Vesta
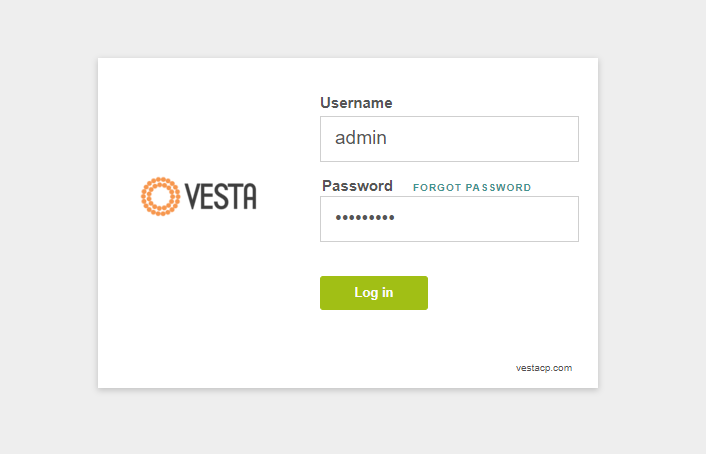
Now that the installation of Vesta on Ubuntu 18.04 server has finished, let's go to the URL https://your_server_ip:8083 and provide the credentials that were made available at the end of the installation.
Note that the URL begins with https:// and not http://. It means that we are accessing Vesta over a secure connection. Since we have not yet set up any certificates, a certificate generated by default by the unsigned server is used, which is why you will receive a warning message from your browser and you can safely add it to your exceptions list and proceed with logging Vesta.
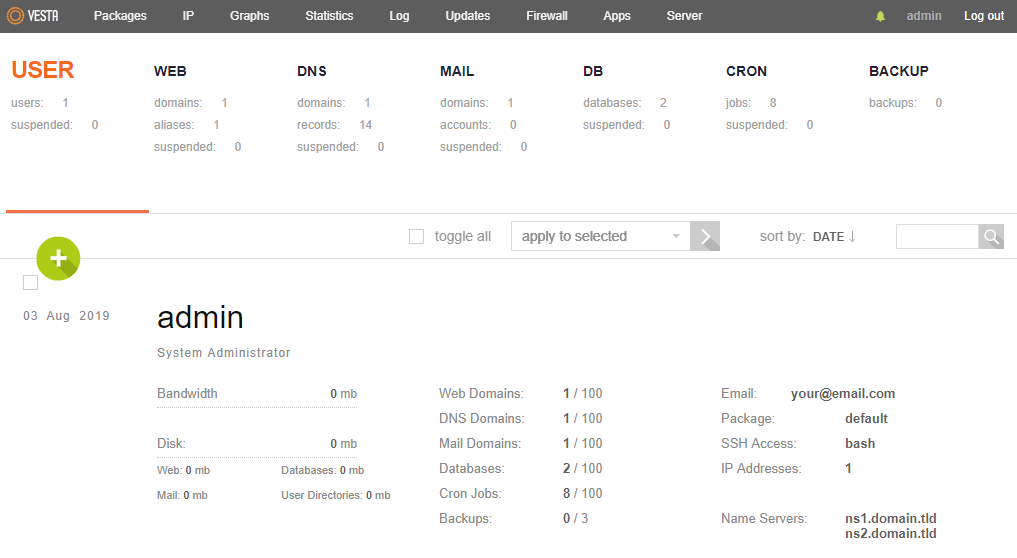
Changing the admin password
Once logged in successfully, the first thing you want to do is change the admin password. You can do it through the command below or through the dashboard by clicking admin at the top right corner.
$sudo /usr/local/vesta/bin/v-change-user-password admin NEW_PASSWORD
Conclusion
Congratulations! Now we have Vesta CP installed and a ready-to-use.
The Vesta web interface is open source php and javascript based on Vesta open API, it uses CLI calls.
Vesta core API is written in bash. It is native programming language of linux server administrators. They see dreams in bash, thats why vesta grows so fast. Server admins are those people who know how to fix problems and how server inner structure should look like. Bash and gpl allows Vesta to fix problems and implement new features very fast.
See full list of command available in console.


 on Ubuntu 24.04")


0 COMMENTS