

Metabase is a simple and powerful analysis tool that allows you to learn and make decisions from your company's data without any technical knowledge required or the development of specific applications. It works basically on questions you ask and it organizes the data in graphs and reports as you wish.
It supports connecting to different types of data sources, including MySQL, PostgreSQL, NoSQL (like MongoDB), cloud database services like Amazon Redshift, Google BigQuery and even connecting to Google Analytics.
In this tutorial, I'll show you how to install Metabase on Ubuntu 20.04 as a service and with Nginx for web access.
Prerequisites
To follow this tutorial, you will need:
Ubuntu 20.04 Server set up by following this initial server setup guide, including a sudo non-root user privileges.
Step 1 - Installing Java
First, update the apt package index:
$sudo apt update
To run the Metabase jar file, you will need to have Java installed on your server. Currently, Metabase requires Java 8 or higher and will work on OpenJDK or Oracle JRE.
So, let's install Java OpenJDK by typing the command:
$sudo apt install openjdk-11-jdk openjdk-11-jre
Once the installation is complete, check the version of java with the command below:
$java --version
You will see output similar to this:
openjdk 11.0.8 2020-07-14
OpenJDK Runtime Environment (build 11.0.8+10-post-Ubuntu-0ubuntu120.04)
OpenJDK 64-Bit Server VM (build 11.0.8+10-post-Ubuntu-0ubuntu120.04, mixed mode, sharing)
Step 2 - Installing the database server (MariaDB)
In this article, we will install the MariaDB database server. If you already have the database server installed, you can skip this step.
If you prefer to use the MySQL Community, I have the article here How to Install MySQL on Ubuntu 20.04
Install the MariaDB database server using the apt command below:
$sudo apt install mariadb-server
After completing the installation, start the MariaDB service and add enable to the startup when the server boots with the command below:
$sudo systemctl start mariadb
$sudo systemctl enable mariadb
And the MariaDB service is up and running.
The MariaDB installation comes with a script called mysql_secure_installation to run after installation and to configure some important security settings and the root password.
$sudo mysql_secure_installation
When executing this command, you will be asked for your root password, but if you have not yet modified it, you should leave it blank.
In the next prompt question, it will be to set your password for the MariaDB root user. The script will also ask you to remove the anonymous user, restrict the root user's access to the localhost, and remove the test database. For these questions, you must answer Y
Step 3 - Creating the database and user
Now that you have installed all the necessary packages for Metabase to work, let's create a blank database for Metabase and configure the MariaDB user to access this database.
Log in to the MySQL shell using the command below:
$mysql -u root -p
Then, create a new database metabase:
MariaDB [none]>CREATE DATABASE metabase;
Create a database user metabase_user with a new password:
MariaDB [none]>CREATE USER 'metabase_user'@'localhost' IDENTIFIED BY 'Strong_Password';
Then, grant the user full access to the database created for localhost:
MariaDB [none]>GRANT ALL ON metabase.* TO 'metabase_user'@'localhost' WITH GRANT OPTION;
Finally, save your changes and exit.
MariaDB [none]>MariaDB [none]>FLUSH PRIVILEGES;
EXIT;
Step 4 - Installing Metabase
Now that Java and the database server are installed, let's install Metabase from its official repository. At the time of writing, the version will be 0.36.7.
Let's download the metabase file and place it in the directory we chose to install it /home/metabase
$$sudo mkdir /home/metabase
cd /home/metabase
$wget https://downloads.metabase.com/v0.36.7/metabase.jar
For security reasons, we want Metabase to run as an unprivileged user. We will call the user simply metabase. Further, we will create the files that we will need later to logging and configure Metabase, and apply the correct security settings for our unprivileged user.
$$$$$$$sudo groupadd -r metabase
sudo useradd -r -s /bin/false -g metabase metabase
sudo chown -R metabase:metabase /home/metabase
sudo touch /var/log/metabase.log
sudo chown metabase:metabase /var/log/metabase.log
sudo touch /etc/default/metabase
sudo chmod 640 /etc/default/metabase
After that, you need to create the service in the Metabase systemd so that you can control the start, stop of the service. To do this, simply execute the commands to create a service file.
$sudo vi /etc/systemd/system/metabase.service
Then copy the contents below into the file and save it:
/etc/systemd/system/metabase.service
[Unit] Description=Metabase server After=syslog.target After=network.target
[Service] WorkingDirectory=/home/metabase/ ExecStart=/usr/bin/java -jar /home/metabase/metabase.jar EnvironmentFile=/etc/default/metabase User=metabase Type=simple StandardOutput=syslog StandardError=syslog SyslogIdentifier=metabase SuccessExitStatus=143 TimeoutStopSec=120 Restart=always
[Install] WantedBy=multi-user.target
Next, we need to create a Syslog configuration to ensure that the systemd can handle the logs properly.
$sudo vi /etc/rsyslog.d/metabase.conf
Then copy the contents below into the file and save it:
/etc/rsyslog.d/metabase.conf
if $programname == 'metabase' then /var/log/metabase.log & stop
Restart the Syslog service to load the new configuration.
$sudo systemctl restart rsyslog.service
Metabase config file
In /etc/default/metabase, replace the configurable items with the values sensible for your system.
Some Metabase configurations have several options available and some I will show separated by the symbol | in the comment next to each variable. I recommend that you choose an option and remove this comment.
$sudo vi /etc/default/metabase
/etc/default/metabase
MB_PASSWORD_COMPLEXITY=strong #weak|strong MB_PASSWORD_LENGTH=10 MB_DB_TYPE=mysql #postgres|mysql|h2 MB_DB_DBNAME=metabase MB_DB_PORT=3306 MB_DB_USER=metabase_user MB_DB_PASS=Strong_Password MB_DB_HOST=localhost MB_EMOJI_IN_LOGS=true #true|false
Now, we can enable and test the Metabase service with the commands below:
$$sudo systemctl daemon-reload
sudo systemctl start metabase
To verify that the service is working, run the commands below to verify it.
$sudo systemctl status metabase
You will see output similar to this:
● metabase.service - Metabase server
Loaded: loaded (/etc/systemd/system/metabase.service; enabled; vendor preset: enabled)
Active: active (running) since Sun 2020-10-18 21:11:45 -03; 7s ago
Main PID: 14703 (java)
Tasks: 12 (limit: 2270)
Memory: 61.9M
CGroup: /system.slice/metabase.service
└─14703 /usr/bin/java -jar /home/metabase/metabase.jar
Once you've confirmed everything is working, you can enable to the startup when the server boots.
$sudo systemctl enable metabase
The Metabase service is already running on the standard port 3000 and we will install Nginx to do the reverse proxy and in step 6, we return to the initial configuration of Metabase.
Step 5 - Installing and configuring Nginx
We will use Nginx to make a reverse proxy for the port that MetaBase was installed on and so you will be able to configure your domain and access through standard SSL ports 80.
So, let's install Nginx by typing the command:
$sudo apt install nginx
Once the installation is complete, create a new Nginx configuration file with the settings below, defining server_name with your FQDN example.com
$sudo vi /etc/nginx/sites-available/metabase
Then copy the contents below into the file and save it. Don't forget to modify your domain example.com
/etc/nginx/sites-available/metabase
server { listen 80; listen [::]:80; server_name example.com; location / { proxy_pass http://127.0.0.1:3000; } }
Now, let's link this configuration to the enabled Nginx confs.
$sudo ln -s /etc/nginx/sites-available/metabase /etc/nginx/sites-enabled/metabase
Next, let's test the Nginx settings, with the command below:
$sudo nginx -t
You will see an output similar to the one below:
nginx: the configuration file /etc/nginx/nginx.conf syntax is ok
nginx: configuration file /etc/nginx/nginx.conf test is successful
So, now we can restart the Nginx service.
$sudo systemctl restart nginx
Step 6 - Initial Metabase settings
In this step, we will make the initial configurations of Metabase and create the administrator user. Go to your browser and type http://example.com
You should see the Metabase setup wizard.

Click the button for Let's get started.
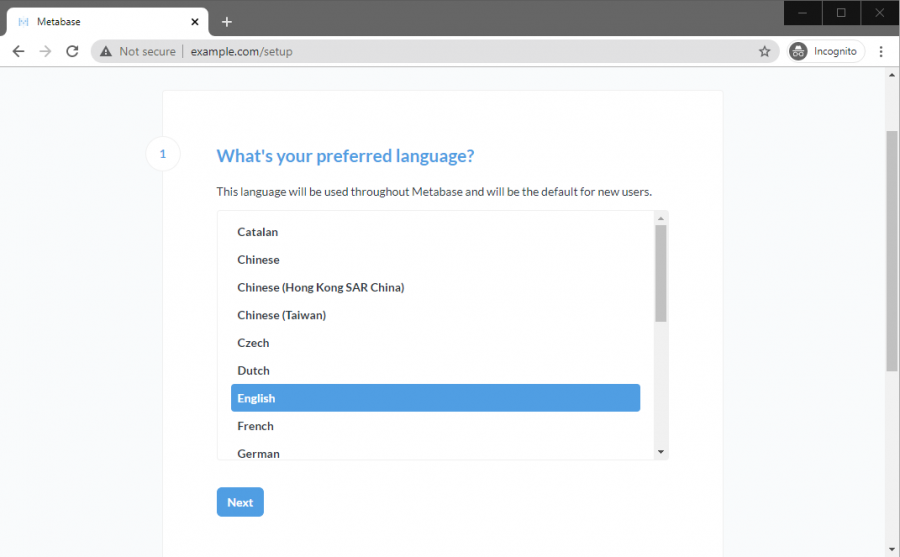
First, let's define your preferred language. In this case, we will select English
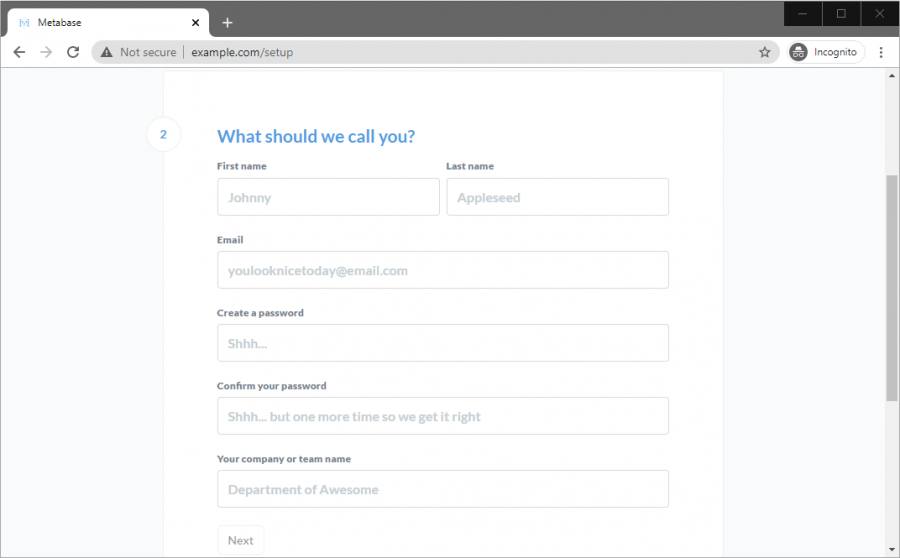
Now let's define the administration account and password.
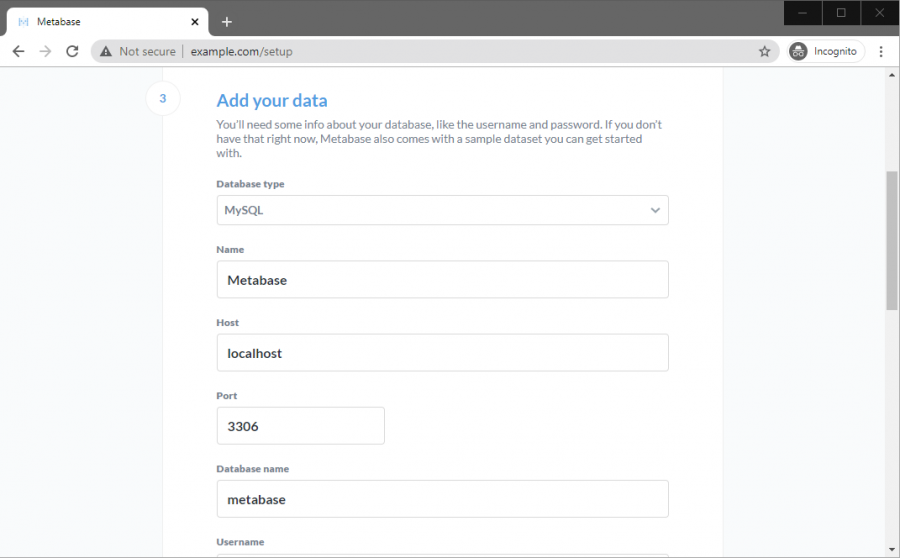
Then choose to add a database. For this tutorial, we are using MySQL or MariaDB. Enter the database information created above and continue with the configuration.
Ok now just finish the configuration and start using the platform.
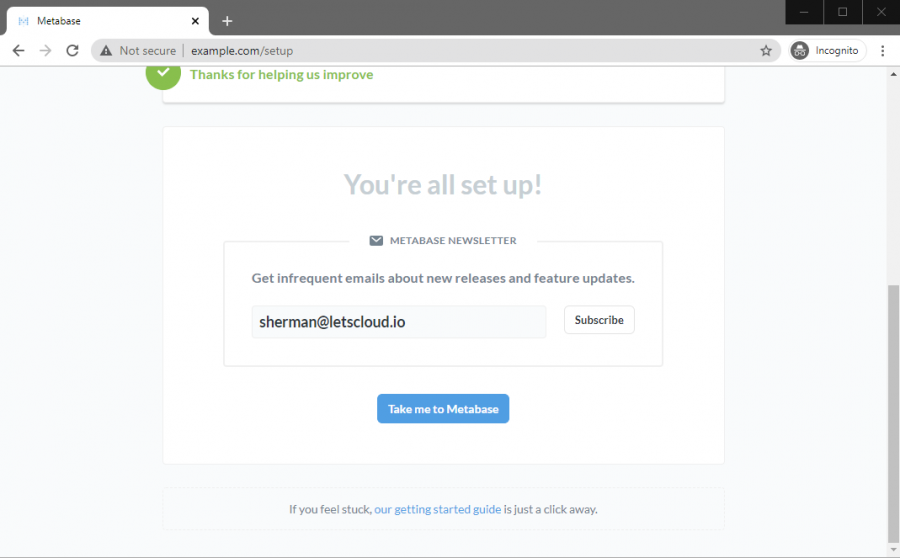
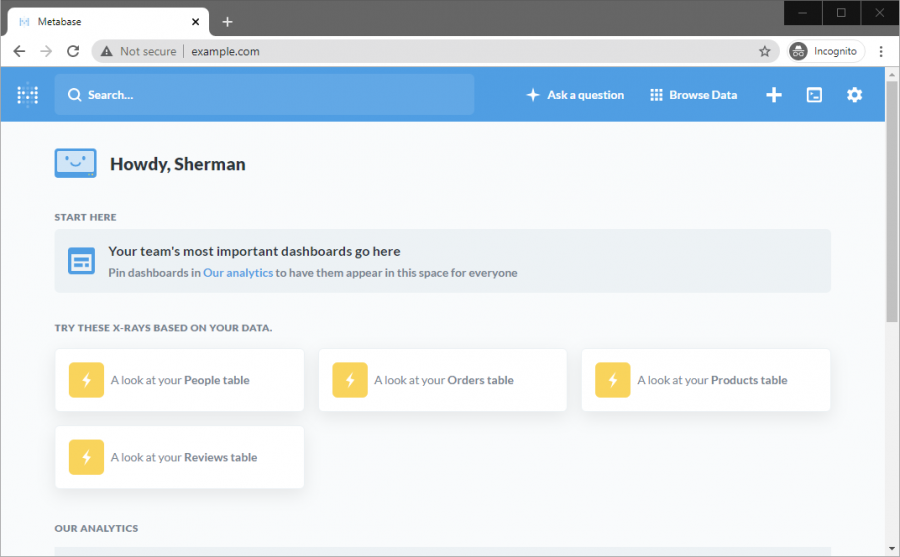
By clicking on the Take me to Metabase button you will have access to the dashboard.
Conclusion
This tutorial showed all the steps on how to install Metabase on Ubuntu 20.04 in very simple and objective commands. Now it's time to start exploring your data and connections to other data sources.


 on Ubuntu 24.04")


0 COMMENTS