
To follow this tutorial, you will need a LetsCloud account. You can create it from LetsCloud signup form,, if you don’t have one yet.
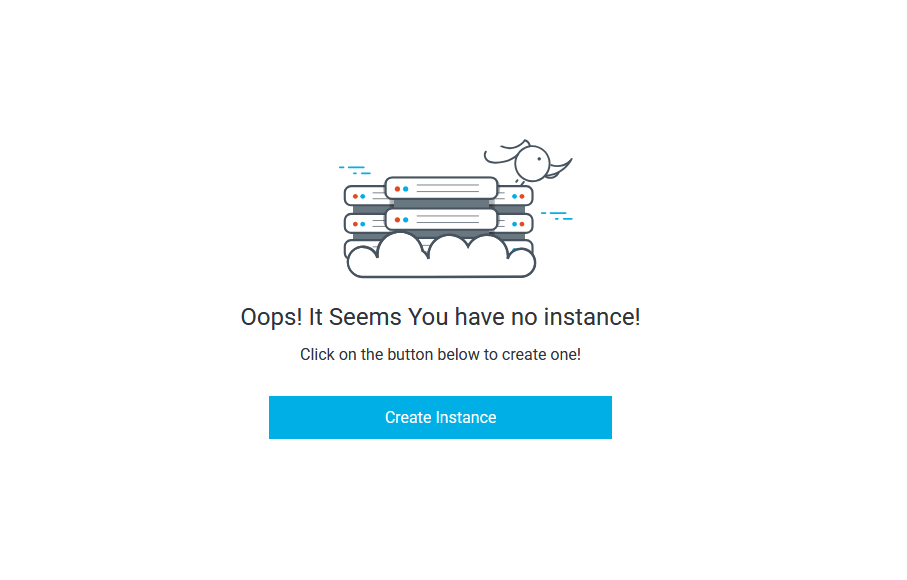
After you log into LetsCloud Control Panel with your email address and password for the first time, there are two ways to create an Instance. You can either:
- Click on the My Instances on left menu, Create Instance button. This button is only visible when you do not have any Instances.
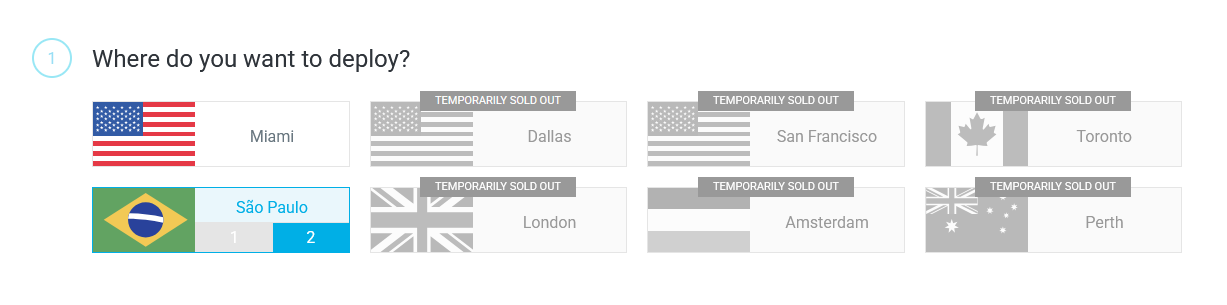
Where do you want to deploy?
You’re given a choice of datacenter regions. It's all locations we have for now:
Select an image on One-Click tab

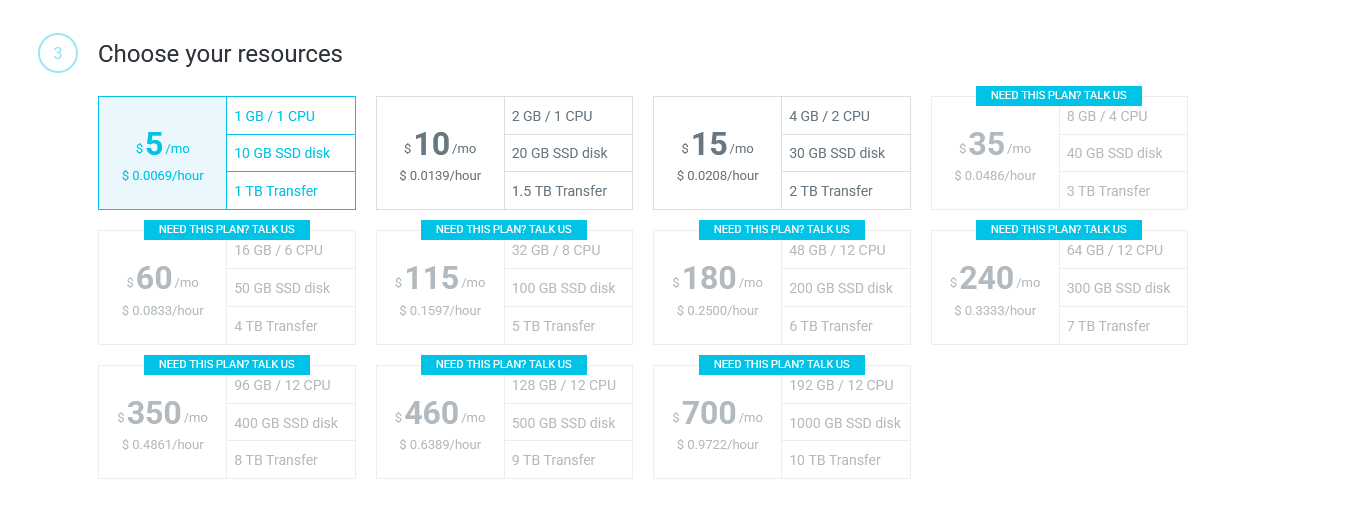
The next configuration section allows you to choose the plan of your instance. I.e. the amount of RAM and storage space it has.
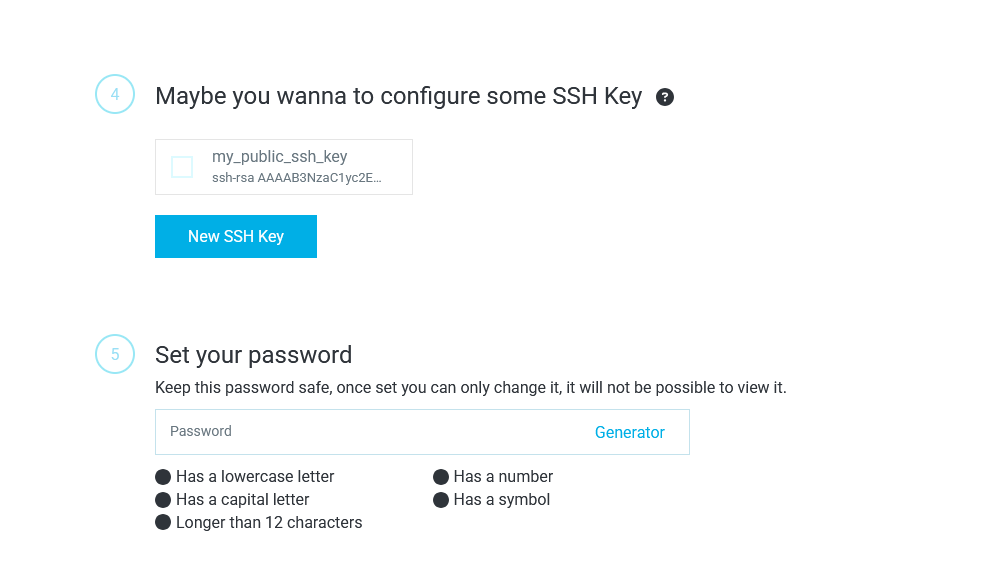
Set Your Public Key and Password
Set a Label and Hostname
The Set a Label and Hostname section of the Create page allows you to choose the label and name of the One-Click instance you are creating.
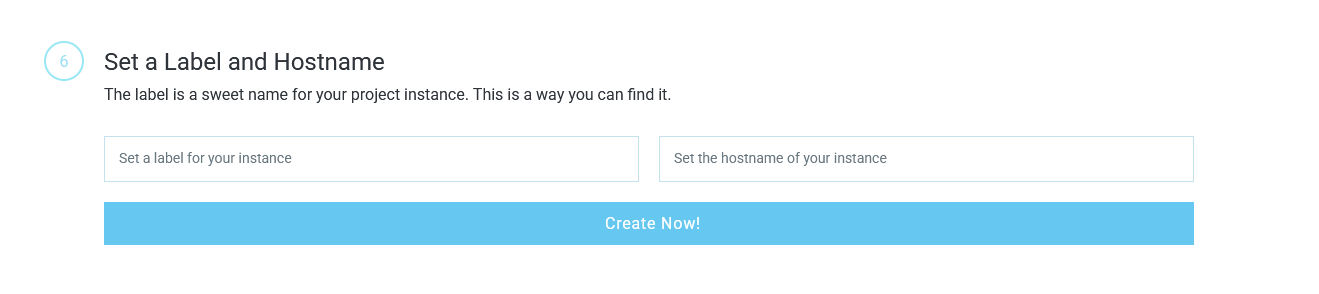
Once you have selected your options, click Create Now!. When the progress bar comes to end, your One-Click instance will be ready.
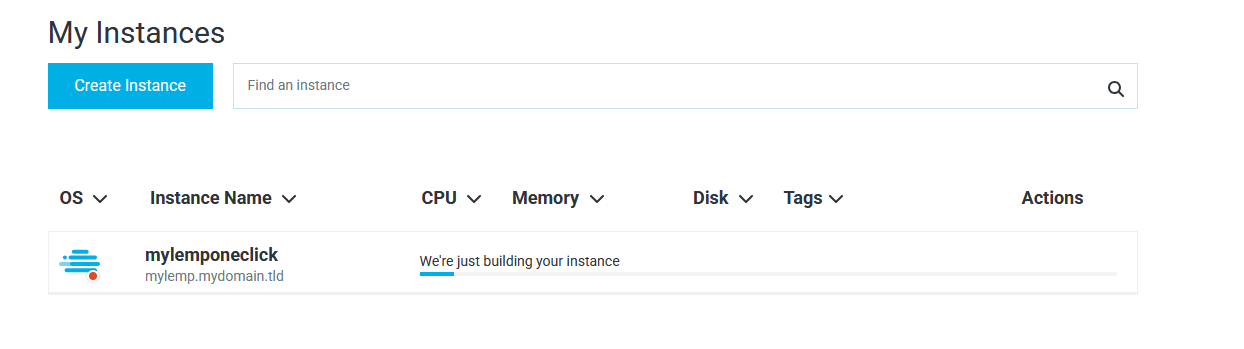
Once the setup is complete, the IP address, info and resources of your One-Click instance will be displayed.
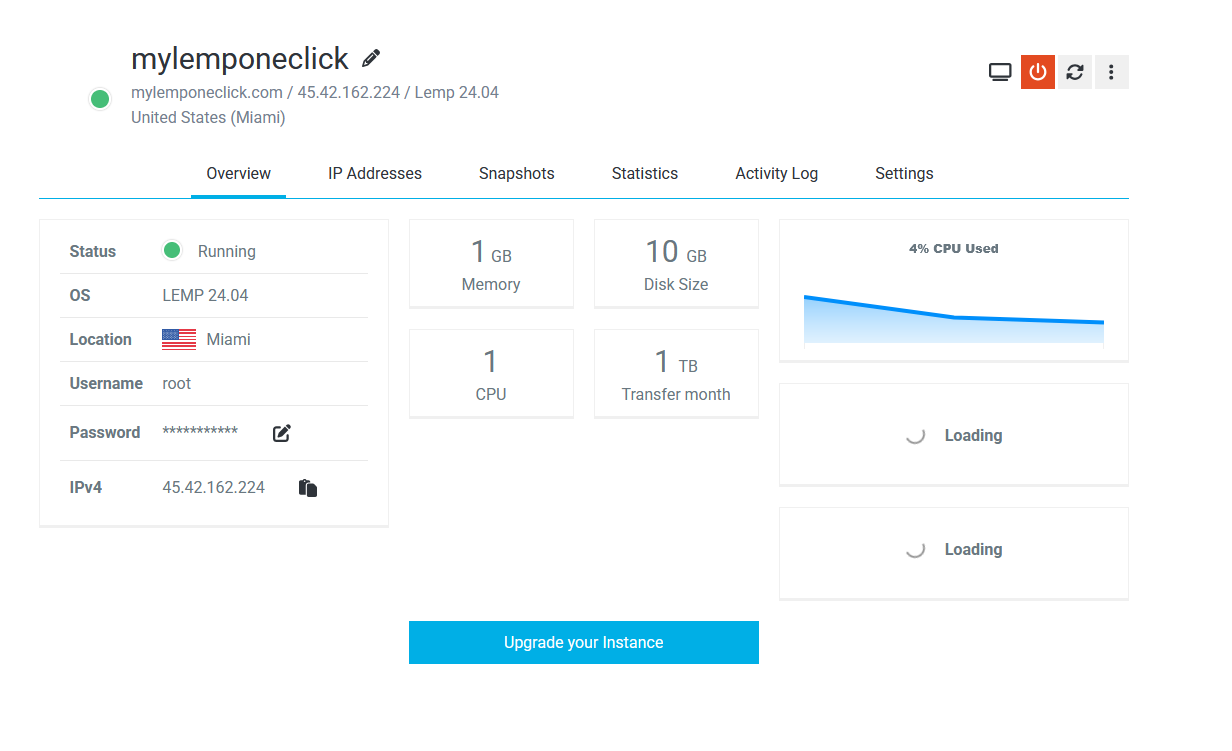
Finally, click on One-Click instance name to go to Instance Detail page. There, you will can reset your password to access, view IP addresses, storage, activity logs and other features.
Getting started after deploying LEMP
Key information to manage your one-click instance:
- See the MySQL root password on /root/.my.cnf file (and changed if you neeed it)
- Add web content and change it on: /var/www/html
- Check the PHP version on console: php -v
- Setup your favorite front-end Firewall