To follow this tutorial, you will need a LetsCloud account. You can create it from LetsCloud signup form,, if you don’t have one yet.
After you log into LetsCloud Control Panel with your email address and password for the first time, there are two ways to create an Instance. You can either:
-
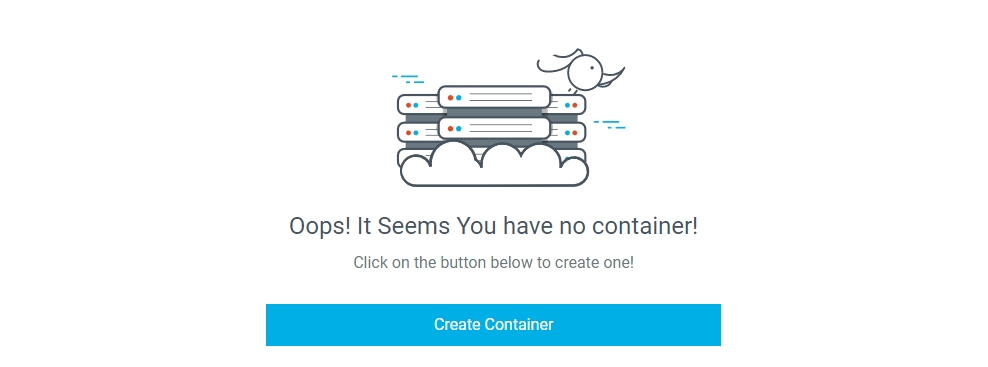
Click on the large, Create Container button. This button is only visible when you do not have any Instances.
-
Click the Create Container button, in the top left

Whichever link you use, you’ll be taken to the Create Container page. This page lets you specify configuration options for your instance.
Where do you want to deploy?
The first configuration section is titled Where do you want to deploy You’re given a choice of datacenter regions. It's all locations we have for now:
- Miami (USA)
- São Paulo (BRA)

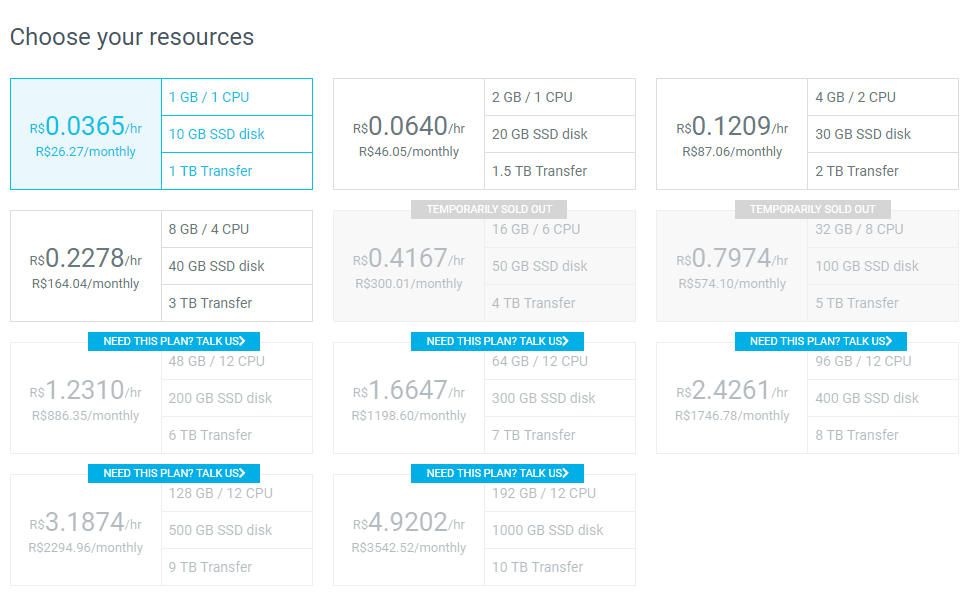
Choose your resources
The next configuration section allows you to choose the plan of your instance. I.e. the amount of RAM and storage space it has.
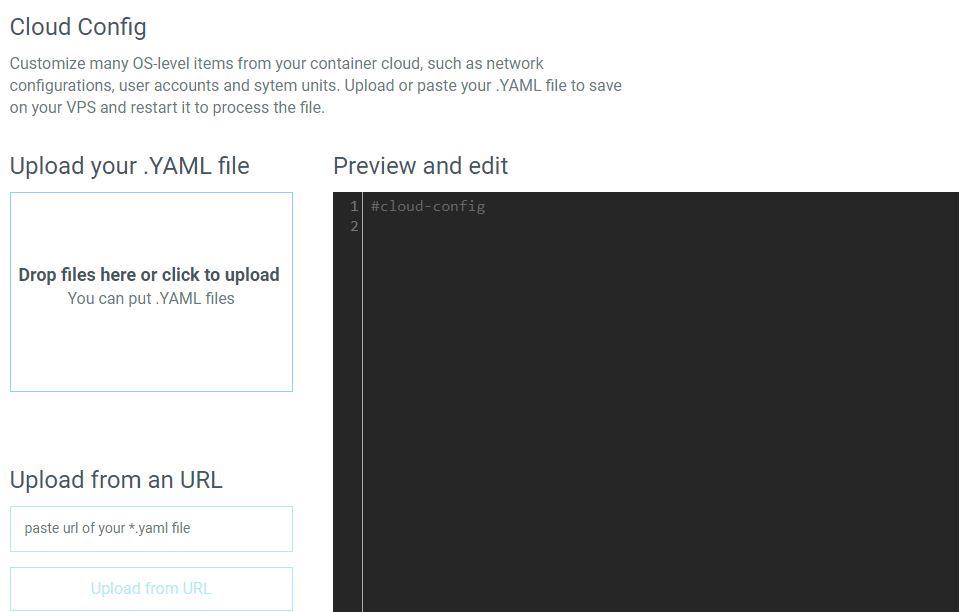
Cloud Config
Customize many OS-level items from your container cloud, such as network configurations, user accounts and sytem units. Upload or paste your .YAML file to save on your VPS and restart it to process the file.
Set a Label and Hostname
The Set a Label and Hostname section of the Create page allows you to choose the label and name of the container you are creating.
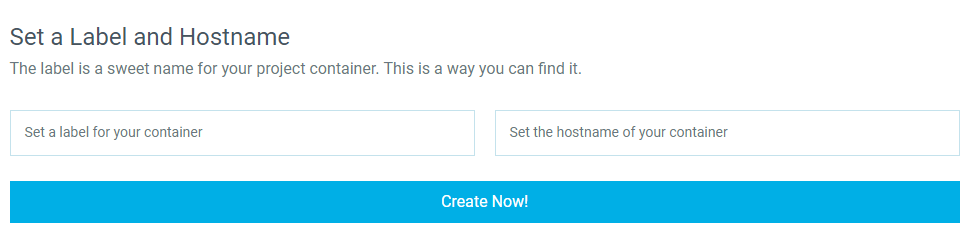
Once you have selected your options, click Create Now!. When the progress bar comes to end, your container will be ready.

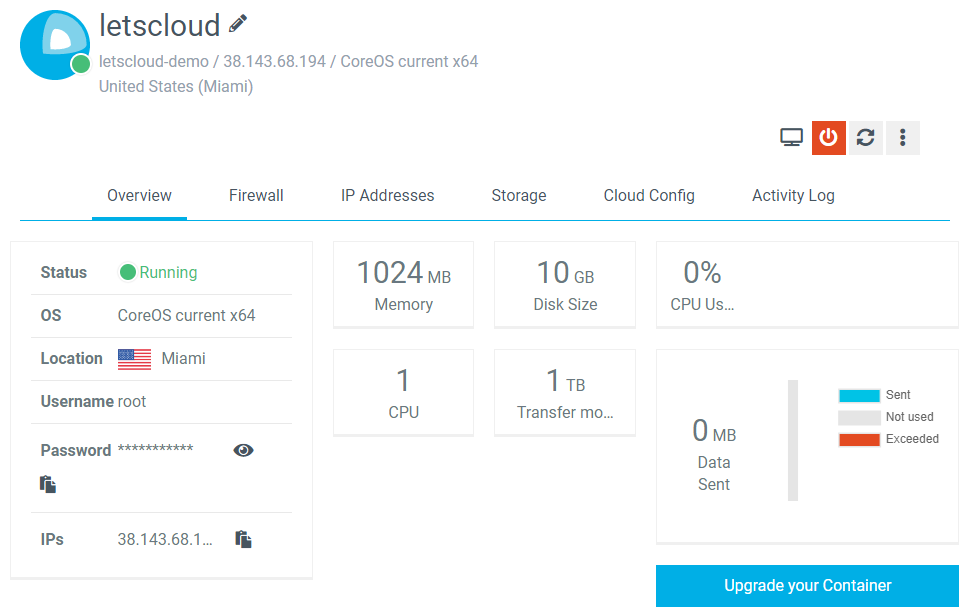
Once the setup is complete, the IP address and resources of your container will be displayed.

Finally, click on container name to go to Container Detail page. There, you will can see your password to access, manage firewall rules, IP addresses, storage and activity logs.