

Introduction
Rocket.Chat is a free, open source and most widely used team communication software developed in JavaScript and uses the Meteor fullstack framework. It is a self-hosted chat server and offers a video chat and conferencing, file sharing, help ticketing systems. Rocket.Chat helps your team to communicate and share ideas from Desktop and Mobile devices. It is a great solution for those who are looking to host their own chat service.
Features
- Live chat, Video and Audio calls and Screen Sharing.
- Provide mobile applications for Linux, Android, iOS, Windows and Mac.
- File Upload and sharing.
- Real-time translation.
In this tutorial, we will explain step by step instruction on how to setup Rocket.Chat on Ubuntu 18.04 server with Nginx as a reverse proxy.
Prerequisites
To follow this guide, you'll need a fresh installed Ubuntu 18.04 server, a regular, non-root user with sudo permission, enable a basic firewall to block non-essential ports, 2GB of memory and a processor with 2 cores and a valid domain name is pointed to your server IP address.
When you have an account available, log in as your non-root user to begin.
Install and Configure MongoDB
By default, MongoDB is not available in the Ubuntu 18.04 default repository. So, you will need to add the MongoDB repository to APT.
First, import the MongoDB public key by running the following command:
$sudo apt-key adv --keyserver hkp://keyserver.ubuntu.com:80 --recv 9DA31620334BD75D9DCB49F368818C72E52529D4
You should see the following output:
    Executing: /tmp/apt-key-gpghome.jElLfN6iUC/gpg.1.sh --keyserver hkp://keyserver.ubuntu.com:80 --recv 9DA31620334BD75D9DCB49F368818C72E52529D4
gpg: key 68818C72E52529D4: public key "MongoDB 4.0 Release Signing Key [email protected]" imported
gpg: Total number processed: 1
gpg:               imported: 1
Next, add the MongoDB repository with the following command:
$sudo add-apt-repository 'deb [arch=amd64] https://repo.mongodb.org/apt/ubuntu bionic/mongodb-org/4.0 multiverse'
Next, update the repository and install MongoDB with the following command:
$$sudo apt-get update -y
sudo apt-get install mongodb-org -y
Next, you will need to configure the MongoDB replica set to improve performance via Meteor Oplog tailing.
You can configure it by editing /etc/mongod.conf file:
$sudo nano /etc/mongod.conf
Add the following lines at the end of the file:
/etc/mongod.conf
replication: replSetName: "rs01"
Save and close the file, when you are finished. Then, start MongoDB service and enable it to start after system reboot.
$$sudo systemctl start mongod
sudo systemctl enable mongod
You can check the status of MongoDB with the following command:
$sudo systemctl status mongod
Output:
       ● mongod.service - MongoDB Database Server
Loaded: loaded (/lib/systemd/system/mongod.service; disabled; vendor preset: enabled)
Active: active (running) since Tue 2019-07-16 04:32:43 UTC; 4s ago
Docs: https://docs.mongodb.org/manual
Main PID: 13607 (mongod)
CGroup: /system.slice/mongod.service
└─13607 /usr/bin/mongod --config /etc/mongod.conf
Jul 16 04:32:43 test.example.com systemd[1]: Started MongoDB Database Server.
Next, log in to MongoDB shell with the following command:
$mongo
Next, initiate the replica set with the following command:
$> rs.initiate()
You should see the following output:
             {
"info2" : "no configuration specified. Using a default configuration for the set",
"me" : "127.0.0.1:27017",
"ok" : 1,
"operationTime" : Timestamp(1563253970, 1),
"$clusterTime" : {
"clusterTime" : Timestamp(1563253970, 1),
"signature" : {
"hash" : BinData(0,"AAAAAAAAAAAAAAAAAAAAAAAAAAA="),
"keyId" : NumberLong(0)
}
}
}
Install Node.js
Rocket.Chat requires Node.js version from the 8.x repository. So, you will need to add the Node.js (8x) repository to your system.
You can add it with the following command:
$curl -sL https://deb.nodesource.com/setup_8.x | sudo -E bash -
Next, update the repository and install Node.js and other required packages with the following command:
$sudo apt-get install nodejs npm build-essential curl software-properties-common graphicsmagick -y
After installing Node.js, run the following commands to install the recommended Node.js version:
$sudo npm install -g inherits n
Output:
    /usr/local/bin/n -> /usr/local/lib/node_modules/n/bin/n
/usr/local/lib
├── [email protected]
└── [email protected]
Next, install the recommended Node.js version with the following command:
$n 8.11.4
Output:
 install : node-v8.11.4
   mkdir : /usr/local/n/versions/node/8.11.4
   fetch : https://nodejs.org/dist/v8.11.4/node-v8.11.4-linux-x64.tar.gz

######################################################################################################################################## 100.0%
installed : v8.11.4
Install Rocket.Chat
Before installing Rocket.Chat, you will need to create a new user and group to run Rocket.Chat.
You can create them with the following command:
$sudo useradd -m -U -r -d /opt/rocket rocket
Next, add the rocket user to www-data group so that the Nginx can access the Rocket.Chat directory.
$$sudo usermod -a -G rocket www-data
sudo chmod 750 /opt/rocket
Next, log in with rocket user and download the latest stable version of Rocket.Chat with the following command:
$$su - rocket
curl -L https://releases.rocket.chat/latest/download -o rocket.chat.tgz
Next, extract the downloaded file with the following command:
$tar zxf rocket.chat.tgz
Next, rename the extracted directory to Rocket.Chat with the following command:
$mv bundle Rocket.Chat
Next, install all the required packages using the npm command as shown below:
$$cd Rocket.Chat/programs/server
npm install
Rocket.Chat is now installed and configured, it's time to test Rocket.Chat installation.
To do so, set the required environment variables with the following command:
$$$$export PORT=3000
export ROOT_URL=http://0.0.0.0:3000/
export MONGO_URL=mongodb://localhost:27017/rocketchat
export MONGO_OPLOG_URL=mongodb://localhost:27017/local?replSet=rs01
Next, change the directory to Rocket.Chat and start the Rocket.Chat server with the following command:
$$cd ../../
node main.js
If everything is file, the output should be similar to the one below:
                   Using GridFS for custom sounds storage
Using GridFS for custom emoji storage
➔ System ➔ startup
➔ +---------------------------------------------+
➔ |                SERVER RUNNING               |
➔ +---------------------------------------------+
➔ |                                             |
➔ |  Rocket.Chat Version: 1.2.1                 |
➔ |       NodeJS Version: 8.11.4 - x64          |
➔ |      MongoDB Version: 4.0.10                |
➔ |       MongoDB Engine: wiredTiger            |
➔ |             Platform: linux                 |
➔ |         Process Port: 3000                  |
➔ |             Site URL: http://0.0.0.0:3000/  |
➔ |     ReplicaSet OpLog: Enabled               |
➔ |          Commit Hash: 7475d7628a            |
➔ |        Commit Branch: HEAD                  |
➔ |                                             |
➔ +---------------------------------------------+
Next, exit from the rocket user with the following command:
$exit
Create Systemd Service File for Rocket.Chat
Next, you will need to create a Systemd service file to manage Rocket.Chat service. You can create it with the following command:
$sudo nano /etc/systemd/system/rocketchat.service
Add the following lines:
/etc/systemd/system/rocketchat.service
[Unit] Description=Rocket.Chat server After=network.target nss-lookup.target mongod.target
[Service] StandardOutput=syslog StandardError=syslog SyslogIdentifier=rocketchat User=rocket Environment=MONGO_URL=mongodb://localhost:27017/rocketchat ROOT_URL=https://test.example.com PORT=3000 ExecStart=/usr/local/bin/node /opt/rocket/Rocket.Chat/main.js
[Install] WantedBy=multi-user.target
Save and close the file. Then, start the Rocket.Chat service and enable it to start after system reboot with the following command:
$$$sudo systemctl daemon-reload
sudo systemctl start rocketchat
sudo systemctl enable rocketchat
You can now verify the Rocket.Chat service with the following command:
$sudo systemctl status rocketchat
Output:
       ● rocketchat.service - Rocket.Chat server
Loaded: loaded (/etc/systemd/system/rocketchat.service; disabled; vendor preset: enabled)
Active: active (running) since Tue 2019-07-16 05:29:10 UTC; 2min 24s ago
Main PID: 11161 (node)
Tasks: 10 (limit: 1114)
CGroup: /system.slice/rocketchat.service
└─11161 /usr/local/bin/node /opt/rocket/Rocket.Chat/main.js
Jul 16 05:31:23 ubuntu1804 rocketchat[11161]: ➔ |      MongoDB Version: 4.0.10                |
Jul 16 05:31:23 ubuntu1804 rocketchat[11161]: ➔ |       MongoDB Engine: wiredTiger            |
Jul 16 05:31:23 ubuntu1804 rocketchat[11161]: ➔ |             Platform: linux                 |
Jul 16 05:31:23 ubuntu1804 rocketchat[11161]: ➔ |         Process Port: 3000                  |
Jul 16 05:31:23 ubuntu1804 rocketchat[11161]: ➔ |             Site URL: http://0.0.0.0:3000/  |
Jul 16 05:31:23 ubuntu1804 rocketchat[11161]: ➔ |     ReplicaSet OpLog: Enabled               |
Jul 16 05:31:23 ubuntu1804 rocketchat[11161]: ➔ |          Commit Hash: 7475d7628a            |
Jul 16 05:31:23 ubuntu1804 rocketchat[11161]: ➔ |        Commit Branch: HEAD                  |
Jul 16 05:31:23 ubuntu1804 rocketchat[11161]: ➔ |                                             |
Jul 16 05:31:23 ubuntu1804 rocketchat[11161]: ➔ +---------------------------------------------+
Configure Nginx as a Reverse Proxy
Next, you will need to install and configure Nginx as a reverse proxy to forward client requests to Rocket.Chat backend server.
First, install Nginx with the following command:
$sudo apt-get install nginx -y
Next, create an Nginx server block for Rocket.Chat with the following command:
$sudo nano /etc/nginx/conf.d/rocketchat.conf
Add the following lines:
/etc/nginx/conf.d/rocketchat.conf
upstream rocketchat { server 127.0.0.1:3000; }
server { listen 80; server_name test.example.com; access_log /var/log/nginx/test.example.com-access.log; error_log /var/log/nginx/test.example.com-error.log;
location / {
    proxy_pass http://rocketchat/;
    proxy_http_version 1.1;
    proxy_set_header Upgrade $http_upgrade;
    proxy_set_header Connection "upgrade";
    proxy_set_header Host $http_host;

    proxy_set_header X-Real-IP $remote_addr;
    proxy_set_header X-Forward-For $proxy_add_x_forwarded_for;
    proxy_set_header X-Forward-Proto http;
    proxy_set_header X-Nginx-Proxy true;

    proxy_redirect off;
}
}
Save and close the file. Then, check Nginx for any syntax error with the following command:
$sudo nginx -t
Output:
  nginx: the configuration file /etc/nginx/nginx.conf syntax is ok
nginx: configuration file /etc/nginx/nginx.conf test is successful
Finally, restart Nginx service to apply all the configuration changes:
$sudo systemctl restart nginx
Access Rocket.Chat Web Interface
Now, open your web browser and type the URL http://test.example.com. You will be redirected to the following page:
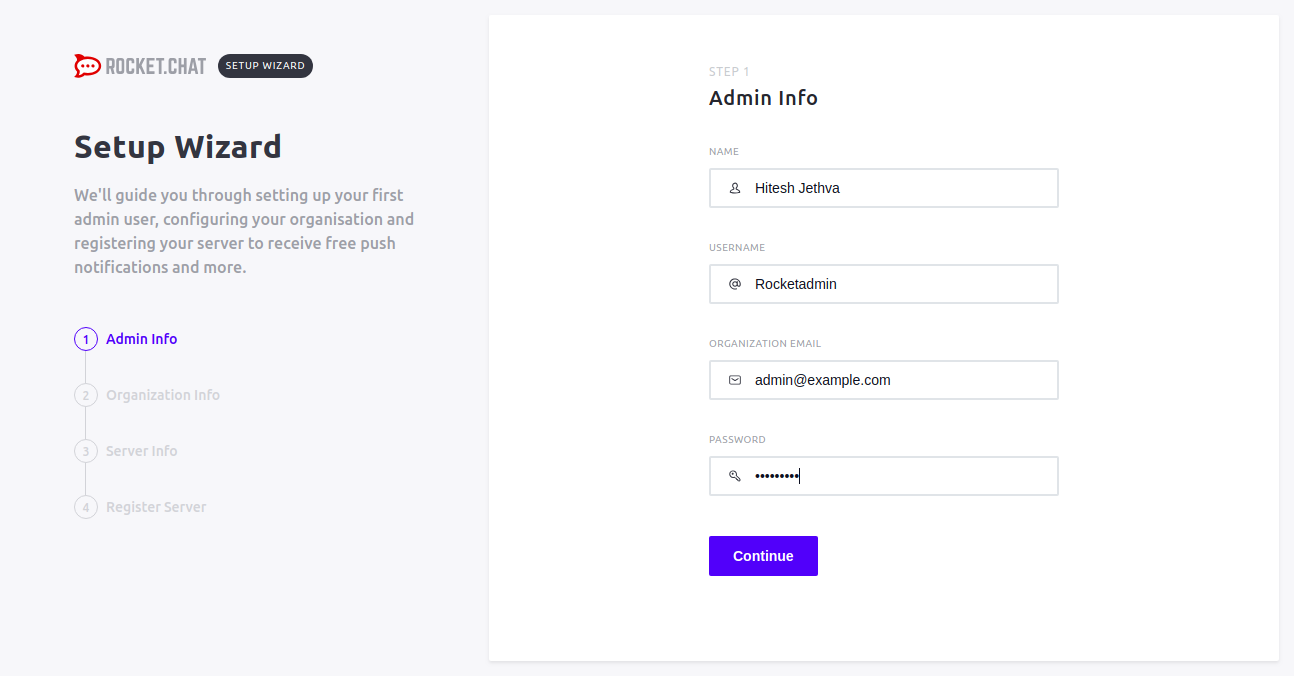
Provide your name, admin user name, password and email address. Then, click on the Continue button. You should see the following page:
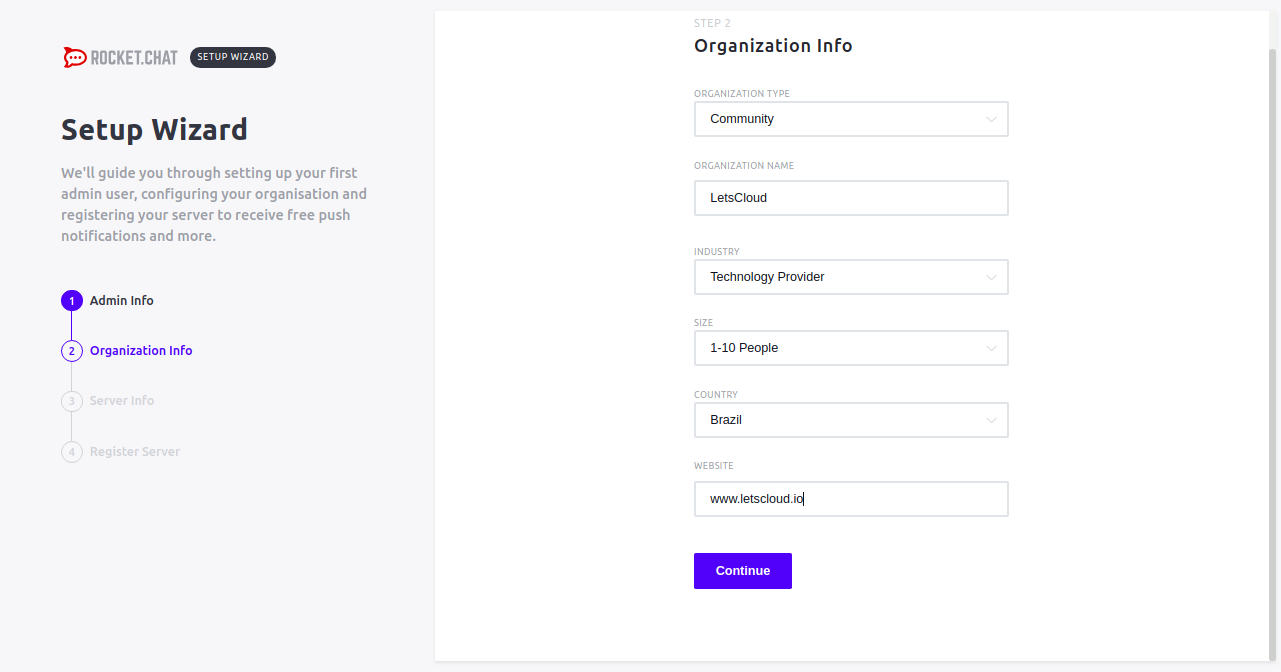
Provide your organization info and click on the Continue button. You should see the following page:
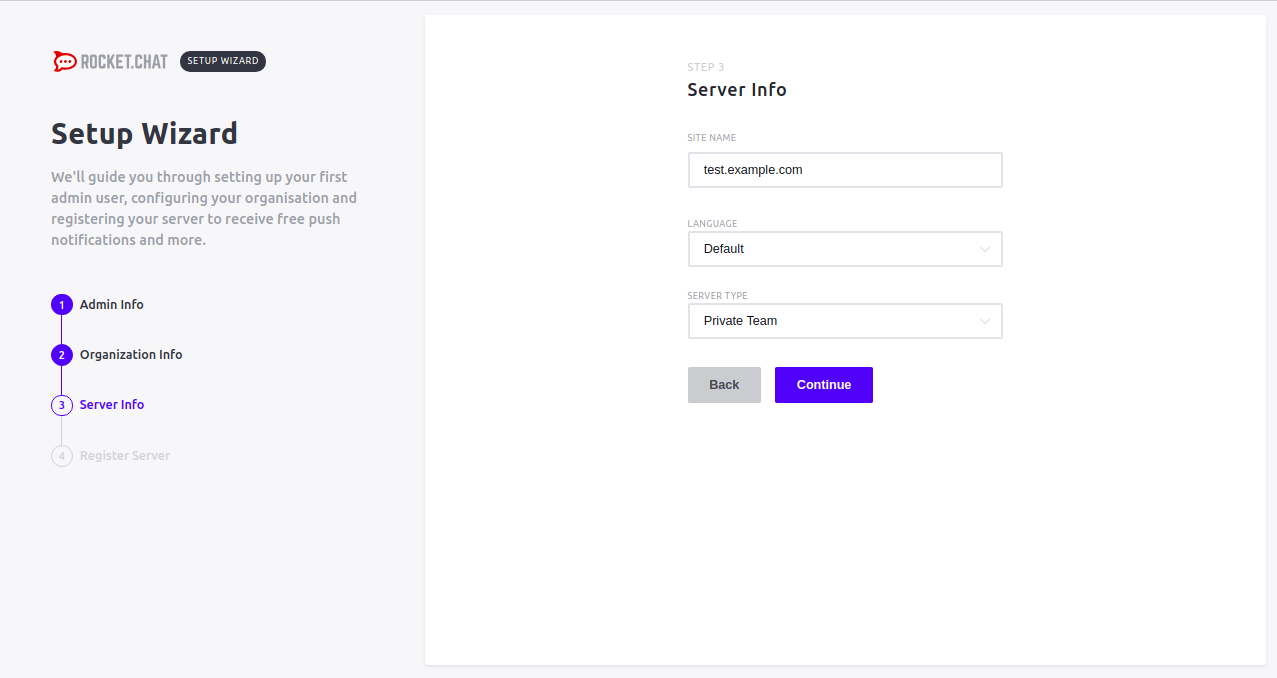
Provide your server info and click on the Continue button. You should see the following page:
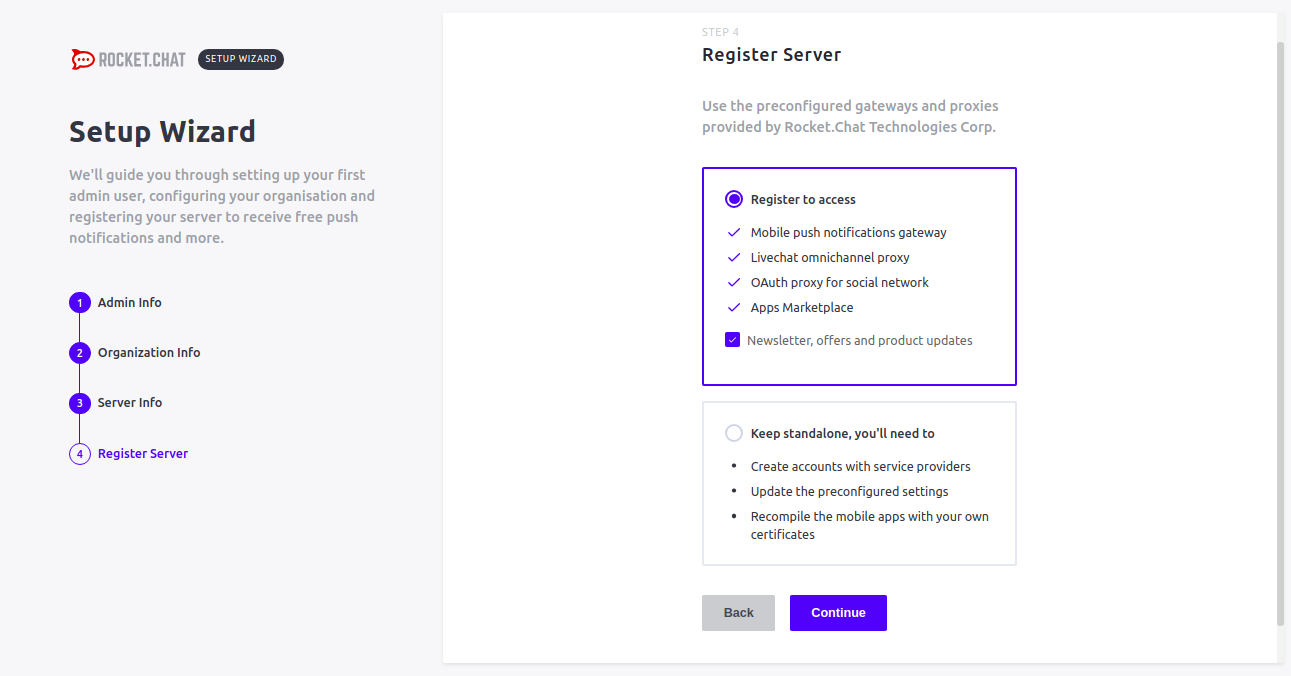
Now, register your server and click on the Continue button. You should see the following page:
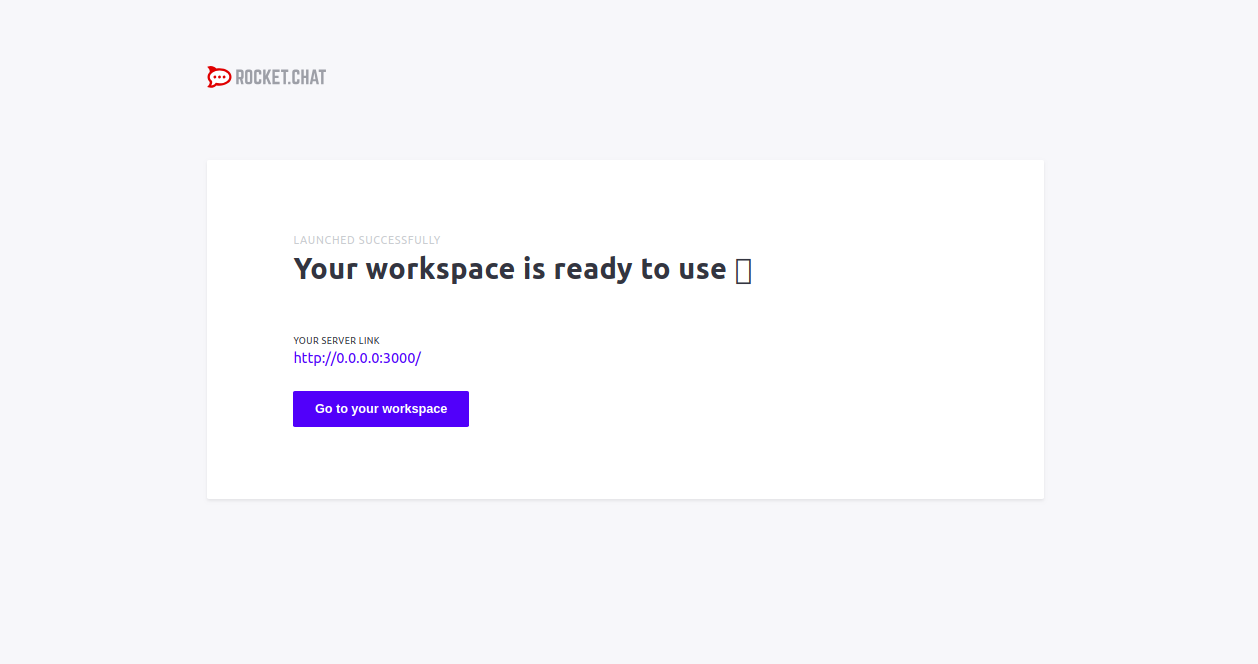
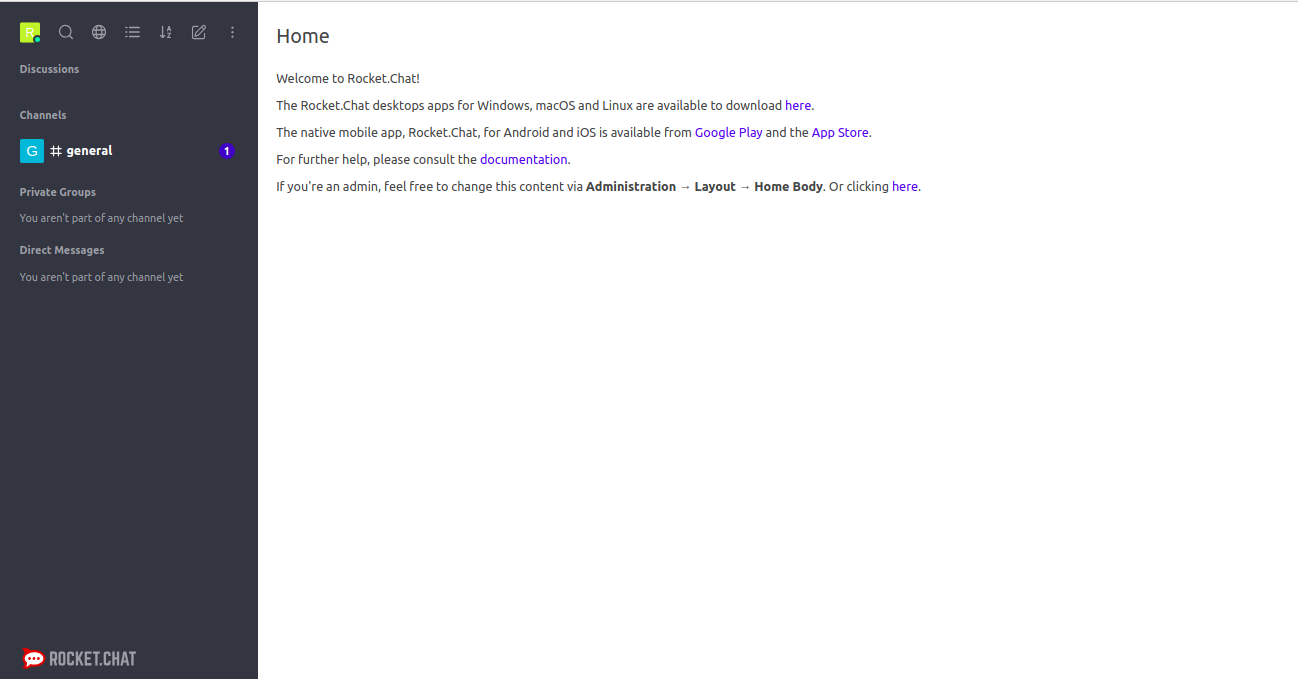
Now, click on the "Go to your workspace" button. You will be redirected to the Rocket.Chat Dashboard as shown below:
Conclusion
Congratulations! you have successfully installed and configured Rocket.Chat server on Ubuntu 18.04 with Nginx as a reverse proxy. You can now host your own chat server, create more channels, add members and start conversation with each other. For more information, you can refer the official doc at RocketChat Doc


 on Ubuntu 24.04")


0 COMMENTS