

Introduction
Nowadays, it’s impossible to talk about Content Manage Systems without mentioning Wordpress. It’s the biggest and most used from its category, being used by more than half of the websites whose CMS is known.
In this text you’ll learn how to install WordPress with the LAMP stack on a Debian 9 server.
Prerequisites
Before you start, make sure you have a non-root user account on your server with sudo privileges. Also, you must have:
- Install MySQL or MariaDB for database
- Apache Installed on your system
- Your Domain must be pointed to your server
Step 1 - Install PHP
Always verify the last version of PHP available on its official website. Updated versions bring improvements and more security.
The first step is to update the apt package manager index and upgrade by using the following command:
$sudo apt update && sudo apt upgrade
Second, to install PHP and all the modules use this command:
$sudo apt install php7.2 php7.2-opcache php7.2-gd php7.2-mysql php7.2-json php7.2-mbstring php7.2-curl php7.2-cli php7.2-xml
To confirm and verify the installation, use the command below:
$php -v
To finish this step, restart the apache service using the following command:
$sudo systemctl restart apache2
Step 2 - Create MySQL Database and Give Permissions
Once the PHP is installed, it’s time to create a MySQL Database and grant permissions. The first step here is to log in to your MySQL database using the command below:
$mysql -u root -p
You’ll be asked to enter password and username for the root user.
The next step is to create the MySQL database for WordPress:
mysql>CREATE DATABASE wordpress DEFAULT CHARACTER SET utf8 COLLATE utf8_unicode_ci;
Also, create a MySQL user and give permissions:
mysql>GRANT ALL ON wordpress.* TO 'wordpressuser'@'localhost' IDENTIFIED BY 'enter-password-here';
After you have to flish the database in order to let the current MySQL know about the changes. You can do it using the code below:
mysql>FLUSH PRIVILEGES;
Then you can exit MySQL:
mysql>EXIT;
Step 3 - Download and Setup Wordpress
Use the command cd /tmp to navigate the /tmp directory and download the latest WordPress setup with this command:
$curl -O https://wordpress.org/latest.tar.gz
To extract the downloaded file, use the below command:
$tar xzvf latest.tar.gz
Now it’s time to create the setting file to WordPress using this command:
$cp /tmp/wordpress/wp-config-sample.php /tmp/wordpress/wp-config.php
And then copy all the files to example.com directory through the command:
$sudo cp -a /tmp/wordpress/. /var/www/example.com
After that, just enter the command below to change the ownership of example.com:
$sudo chown -R www-data:www-data /var/www/example.com
To generate configuration files to WordPress, type this command:
$curl -s https://api.wordpress.org/secret-key/1.1/salt/
The results should appear as below:
define('AUTH_KEY', 'm=w)!7{-EEc&JYU~$wd@jTrqFseaZ0D-4Vd/?!>_hcF*BmQ+S2Do!QP>>O-|OI21');
define('SECURE_AUTH_KEY', 'S?lk-{RG 5K~sd1$N<aZ18jy|^0n#-@eGqBhk3#dJy2M-|jUruu[T+ cYfJ^@2-'); define('LOGGED_IN_KEY', '>i8?IA#h/.@?6MezjmoBWm&&b+h1YP?T.]Y=&*^h9[Bm`ThdbJ5zepb824LUd;-');
define('NONCE_KEY', 'cPim1L6}H1rQLtLj|FrN1DO:LZVshrr}5 }k,f~%u)papX4|_J^Q%PKJ44uF[l');
define('AUTH_SALT', ',+Aa_iZ/%yj5?-0F.O>Ogd6jCLU+2_2M$+1Zo-hUog70lLa$)YI@wbzkN<~v!Acd');
define('SECURE_AUTH_SALT', '-9sQ8iLS}1-iEX)b<A6(JNuPIGv2SV5ZiHV])4i+@oi6FG76$4{A@c*fj8[ *Uc-'); define('LOGGED_IN_SALT', 'K$i5b^g?TK4M|w;mqlh>m9ZJ5eVAq0X;we}jvw:JNkKm-O|-=GdH-{I><`J(ZgKB');
define('NONCE_SALT', 'c_VY?z=E}2r0A&r!F/qkrtM3>K-Id+zqG*^2g#4/-sR2%GP>b|{<97nL4uP8K/');
Now type the command below to open the .php file:
$sudo nano /var/www/example.com/wp-config.php
When you get there, find the section and replace it with the above information
wp-config.php
. . .
define('AUTH_KEY', 'put your unique phrase here');
define('SECURE_AUTH_KEY', 'put your unique phrase here');
define('LOGGED_IN_KEY', 'put your unique phrase here');
define('NONCE_KEY', 'put your unique phrase here');
define('AUTH_SALT', 'put your unique phrase here');
define('SECURE_AUTH_SALT', 'put your unique phrase here');
define('LOGGED_IN_SALT', 'put your unique phrase here');
define('NONCE_SALT', 'put your unique phrase here');
. . .
Delete those lines and paste in the values you copied from the command line:
wp-config.php
. . .
define('AUTH_KEY', 'VALUES COPIED FROM THE COMMAND LINE');
define('SECURE_AUTH_KEY', 'VALUES COPIED FROM THE COMMAND LINE');
define('LOGGED_IN_KEY', 'VALUES COPIED FROM THE COMMAND LINE');
define('NONCE_KEY', 'VALUES COPIED FROM THE COMMAND LINE');
define('AUTH_SALT', 'VALUES COPIED FROM THE COMMAND LINE');
define('SECURE_AUTH_SALT', 'VALUES COPIED FROM THE COMMAND LINE');
define('LOGGED_IN_SALT', 'VALUES COPIED FROM THE COMMAND LINE');
define('NONCE_SALT', 'VALUES COPIED FROM THE COMMAND LINE');
. . .
Now replace the password-you-provided with the password you have entered in above directions:
wp-config.php
define('DB_NAME', 'wordpress');
/** MySQL database username */ define('DB_USER', 'wordpressuser');
/** MySQL database password */ define('DB_PASSWORD', 'password-you-provided');
define('FS_METHOD', 'direct');
Step 4 - Configuring Apache
To setup Apache, you can start by opening the .conf file:
$sudo your_text_editor/etc/apache/sites-available/example.com.conf
And paste the following code:
example.com.conf
ServerName example.com
Redirect permanent / https://example.com/
DirectoryIndex index.html index.php DocumentRoot /var/www/example.com
SSLEngine On SSLCertificateFile /etc/letsencrypt/live/example.com/cert.pem SSLCertificateKeyFile /etc/letsencrypt/live/example.com/privkey.pem SSLCertificateChainFile /etc/letsencrypt/live/example.com/chain.pem
ErrorLog ${APACHE_LOG_DIR}/example.com-error.log CustomLog ${APACHE_LOG_DIR}/example.com-access.log combined
Options FollowSymLinks AllowOverride All Require all granted
The next step is to generate symlink from directory sites-available to sites-enabled, and you can do it with the command:
$sudo a2ensite example.com
And restart Apache:
$sudo systemct restart apache2
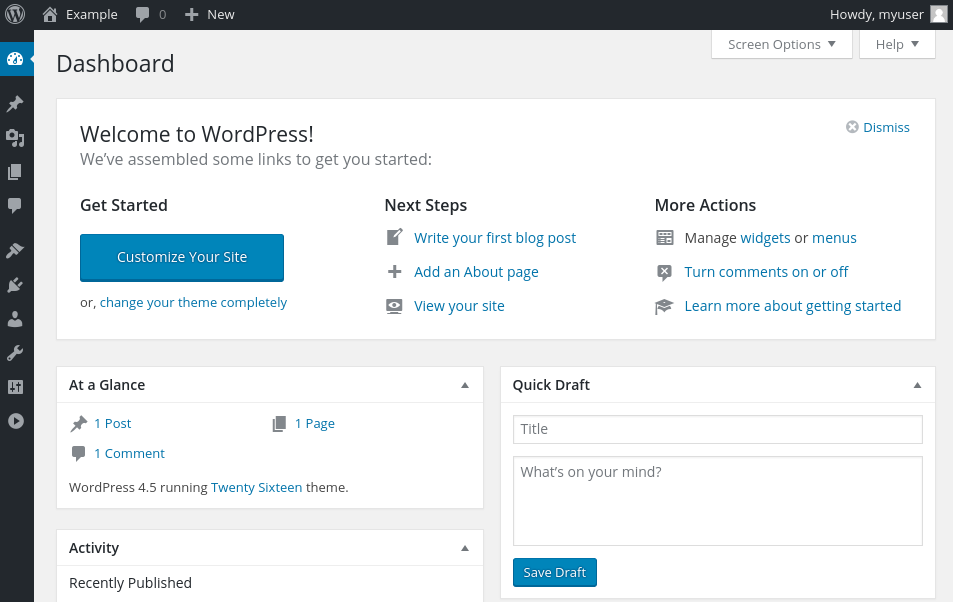
Step 5 - Testing Wordpress
It’s very important to test if what you’ve done worked. To do that, use your web browser to navigate to your sites URL.

The next step is to authenticate setup with the correct inputs.
Conclusion
If everything went right until here, you shall have WordPress installed with LAMP stack on Debian 9.
Is there any step that is unclear? Don’t hesitate to leave your question in the comments!


 on Ubuntu 24.04")


0 COMMENTS