

Introduction
Minecraft is the most popular sandbox game in the world. Is an open-world game that allows you to build different block in 3D. The whole game bases on the creativity of the player. This game has multiple mods that will enable you to change gameplay. The Java Edition allows players to modify the game with multiply mods and to create their mod.
In this article, we will write how to install Minecraft: Java Edition Server on Ubuntu 19.04.
Prerequisites
Before you begin, you will need:
Minimum Requirements:
- Intel Core 2 Duo or later
- 2GB of Ram
- 150MB of Disk for world saves
Step 1 - Install OpenJDK
OpenJDK is an open-source from Java that is needed to run Minecraft Server. Before you install OpenJDK, first update and upgrade your system:
$sudo apt update && sudo apt upgrade
Now, install OpenJDK 8 by running this command:
$sudo apt install openjdk-8-jre-headless screen
Step 2 - Create a new user
You need to create anew user for your server. Run this command to create your user:
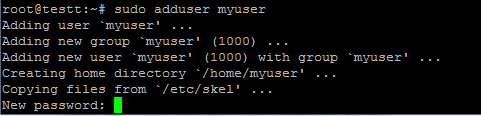
$sudo adduser myuser
And enter a new password for your new user:
 After, provide your information(Press Enter for default):
 Change the current directory to your user:
$cd /home/myuser
Step 3 - Install Minecraft Server
Now, its time to install the Minecraft Server. Download Minecraft server.jar file for Java Edition. Change the URL with the latest version that you get from the Minecraft website:
$wget https://launcher.mojang.com/v1/objects/3dc3d84a581f14691199cf6831b71ed1296a9fdf/server.jar
After, run installation command:
$java -Xmx2G -Xms2G -jar server.jar
In the first time that you run this command, the installation will fail, you will need to accept EULA agreements. Open eula.txt file by running this command:
$nano eula.txt
And change eula=false:
 To eula=true:

Now rerun installation command:
$java -Xmx2G -Xms2G -jar server.jar
Wait a few minutes until the server installation completes.
Step 4 - Connect to server
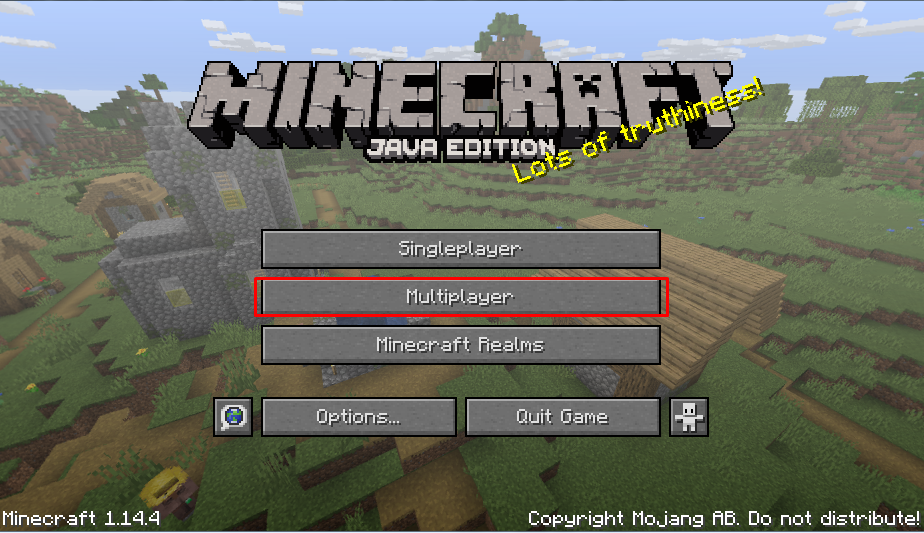
The server is installed, now we will test it on Minecraft. Open Minecraft game and select Multiplayer:
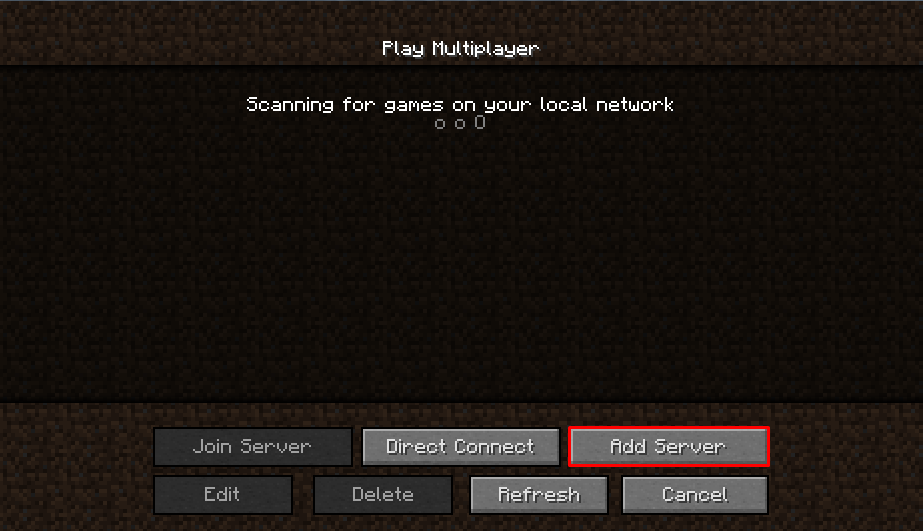
 Next, click on Add Server button:
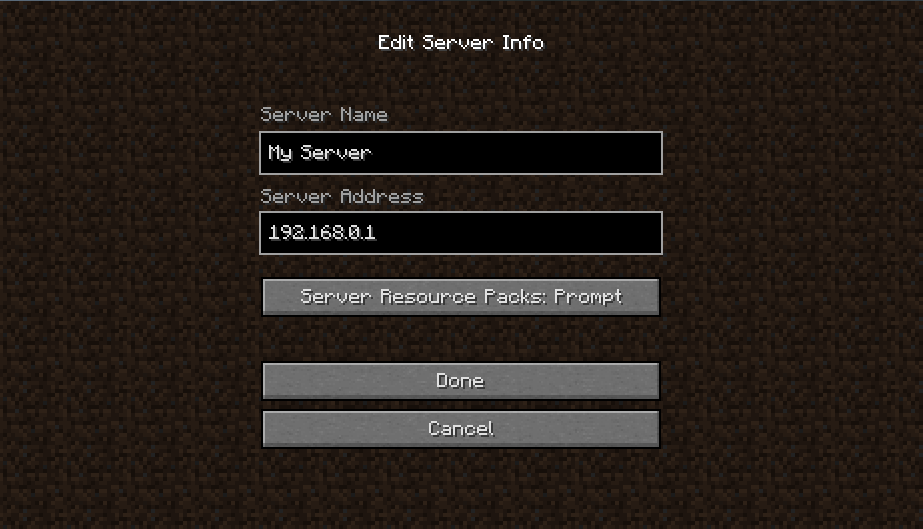
 Edit by your server infos and click done:
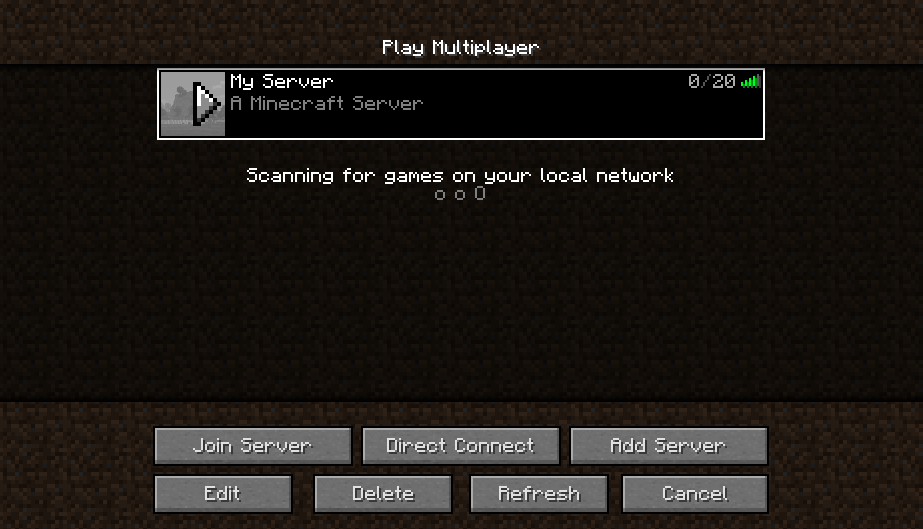
 Wait until your server is connected:
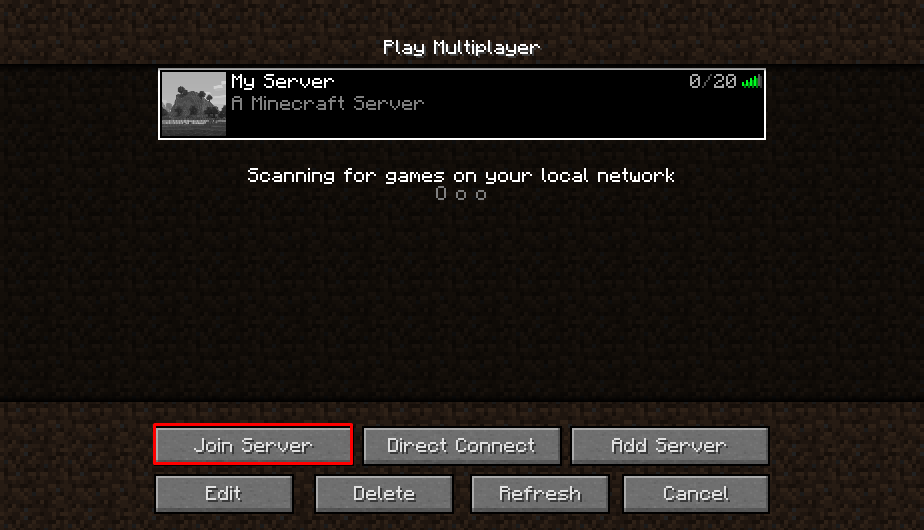
 And after, join the new server:
 You have successfully connected to your server, enjoy the game.

Conclusion
You have successfully installed Minecraft: Java Edition Server on Ubuntu 19.04. Now you can build your world in Minecraft game in your server.


 on Ubuntu 24.04")


0 COMMENTS