

Introduction
Django is a free and open source web framework to build web applications more easily and quickly with less coding. It is written in Python and follows the model-view-template (MVT) architectural pattern. Django allows you to create complex websites and applications easily.
This tutorial will help you to install Django on Ubuntu 18.04.
Prerequisites
To follow this guide, you'll need a fresh installed Ubuntu 18.04 server, a regular, non-root user with sudo permission and enable a basic firewall to block non-essential ports.
When you have an account available, log in as your non-root user to begin.
Step 1 - Update The System
First, it is recommended to update your system packages to the latest version. You can update them using the following command:
$$sudo apt-get update -y
sudo apt-get upgrade -y
Once all the packages are updated, restart your system to apply all the configuration changes.
Step 2 - Install Required Dependencies
Before starting, you will need to install Python and pip on your server. You can install them with the following command:
$sudo apt-get install python3 python3-pip
Once installed, check the version of Python with the following command:
$python3 -V
Output:
Python 3.6.8
You can also check the pip version with the following command:
$pip3 -V
Output:
pip 9.0.1 from /usr/lib/python3/dist-packages (python 3.6)
Step 3 - Install Django
First, you will need to install the latest version of Django on your system. You can easily install it with pip command:
$sudo pip3 install Django
Once installed, you can check the version of Django with the following command:
$django-admin --version
You should see the following output:
2.2.4
Step 4 - Create a Project with Django
Django is now installed, it's time to create your first Django project.
To do so, change the directory to /opt and create a project named webapp with the following command:
$$cd /opt
django-admin startproject webapp
Once created, run the following command to migrate the database:
$$cd webapp
python3 manage.py migrate
You should see the following output:
                    Operations to perform:
Apply all migrations: admin, auth, contenttypes, sessions
Running migrations:
Applying contenttypes.0001_initial... OK
Applying auth.0001_initial... OK
Applying admin.0001_initial... OK
Applying admin.0002_logentry_remove_auto_add... OK
Applying admin.0003_logentry_add_action_flag_choices... OK
Applying contenttypes.0002_remove_content_type_name... OK
Applying auth.0002_alter_permission_name_max_length... OK
Applying auth.0003_alter_user_email_max_length... OK
Applying auth.0004_alter_user_username_opts... OK
Applying auth.0005_alter_user_last_login_null... OK
Applying auth.0006_require_contenttypes_0002... OK
Applying auth.0007_alter_validators_add_error_messages... OK
Applying auth.0008_alter_user_username_max_length... OK
Applying auth.0009_alter_user_last_name_max_length... OK
Applying auth.0010_alter_group_name_max_length... OK
Applying auth.0011_update_proxy_permissions... OK
Applying sessions.0001_initial... OK
Next, you will need to create an administrator user to access Django admin interface. You can do it with the following command:
$sudo python3 manage.py createsuperuser
You will be prompt to enter admin username and password as shown below:
     Username (leave blank to use 'root'): djangoadmin
Email address: [email protected]
Password:
Password (again):
Superuser created successfully.
Step 5 - Start Django Application
By default, Django admin interface is accessible only from localhost. So, you will need to add your IP address in ALLOWED_HOSTS. You can do it by editing settings.py file:
$sudo nano webapp/settings.py
Make the following changes:
webapp/settings.py
ALLOWED_HOSTS = ['your-ip-address']
Save and close the file. Then, start Django application server with the following command:
$sudo python3 manage.py runserver 0.0.0.0:8000
You should see the following output:
  Watching for file changes with StatReloader
Performing system checks...
System check identified no issues (0 silenced).
August 03, 2019 - 06:30:03
Django version 2.2.4, using settings 'webapp.settings'
Starting development server at http://0.0.0.0:8000/
Quit the server with CONTROL-C.
Step 6 - Access Django
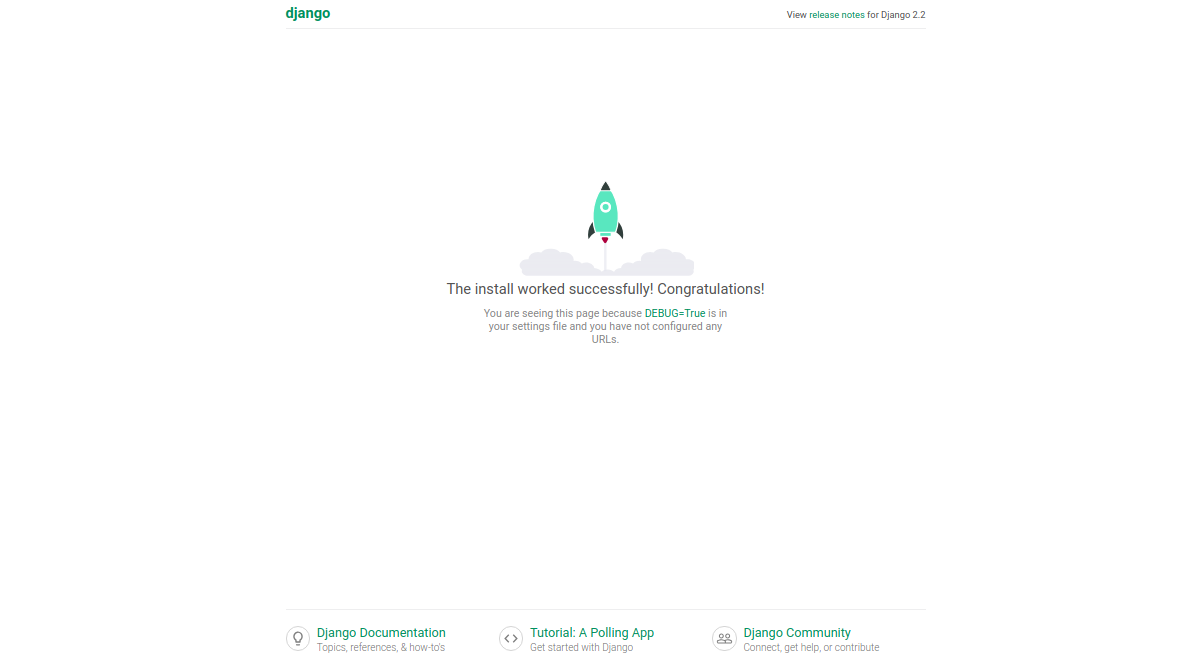
Now, open your web browser and type the URL http://your-server-ip:8000. You will be redirected to the Django default web page:
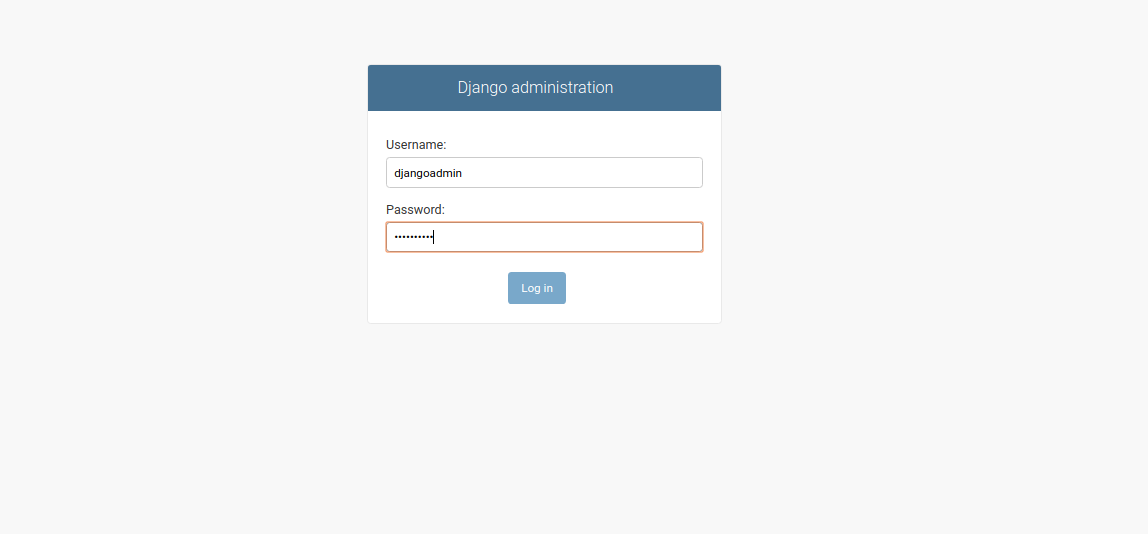
To access Django admin interface, open your web browser and type the URL http://your-server-ip:8000/admin. You will be redirected to the Django login page:
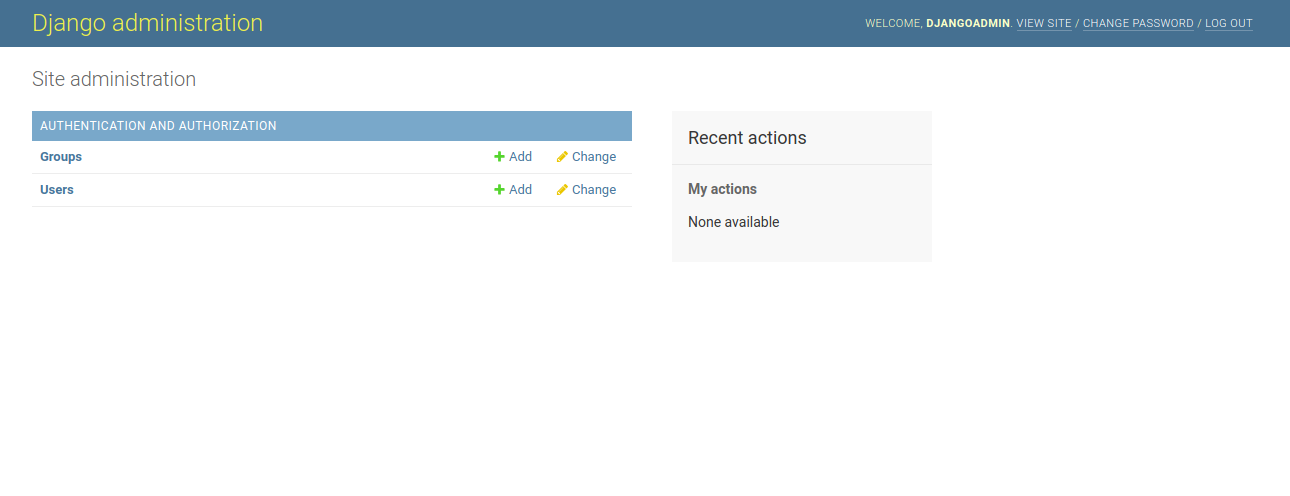
Provide your admin username and password, and click on the Log in button. You should see the Django admin interface in the following page:
Conclusion
Congratulation! :) Now we have Django installed and a ready-to-use.


 on Ubuntu 24.04")


0 COMMENTS