
Introduction
Apache Tomcat a free and open-source web server used for hosting the Java-based web application. It is one of the most widely used web server that enables you to run Java files easily.
In this tutorial, i will explain how to install Apache Tomcat on Ubuntu 18.04.
Prerequisites
To follow this guide, you'll need a fresh installed Ubuntu 18.04 server, a regular, non-root user with sudo permission, enable a basic firewall to block non-essential ports, 2GB of memory and a processor with 2 cores and a valid domain name is pointed to your server IP address.
When you have an account available, log in as your non-root user to begin.
Update The System
First, it is recommended to update your system packages to the latest version. You can update them using the following command:
$$sudo apt-get update -y
sudo apt-get upgrade -y
Once all the packages are updated, restart your system to apply all the configuration changes.
Install Java
Before Starting, you need to have Java latest version installed on your system. You can install the latest version of Java with the following command:
$sudo apt-get install default-jdk -y
After installing Java, you can check the Java version with the following command:
$java --version
You should see the output one below:
   openjdk 11.0.3 2019-04-16
OpenJDK Runtime Environment (build 11.0.3+7-Ubuntu-1ubuntu218.04.1)
OpenJDK 64-Bit Server VM (build 11.0.3+7-Ubuntu-1ubuntu218.04.1, mixed mode, sharing)
Create a User for Tomcat Service
Next, you will need to create a user to run Tomcat without root privileges. First, create a Tomcat group with the following command:
$sudo groupadd tomcat
Next, create a new tomcat user and make the user a member of the tomcat group with the following command:
$sudo useradd -s /bin/false -g tomcat -d /opt/tomcat tomcat
Install Tomcat
First, download the latest version of Tomcat with the following command:
$wget http://mirrors.estointernet.in/apache/tomcat/tomcat-9/v9.0.22/bin/apache-tomcat-9.0.22.zip
After downloading, unzip the downloaded file with the following command:
$unzip apache-tomcat-9.0.22.zip
Next, move the extracted directory to /opt/ with the following command:
$sudo mv apache-tomcat-9.0.22 /opt/tomcat
Next, provide proper permissions to the /opt/tomcat directory with the following command:
$$sudo chown -R tomcat:tomcat /opt/tomcat
sudo chmod -R 755 /opt/tomcat/
Enable Tomcat Admin User Account
Next, you will need to enable Tomcat admin user account to access the Host-Manager / Manager App. You can do this by editing /opt/tomcat/conf/tomcat-users.xml file:
$sudo nano /opt/tomcat/conf/tomcat-users.xml
Add the following lines above </tomcat-users> tags:
/opt/tomcat/conf/tomcat-users.xml
<role rolename="manager-gui"/> <role rolename="admin-gui"/> <user username="admin" password="password" roles="manager-gui,admin-gui"/>
Save and close the file, when you are finished.
By default, Tomcat allows access to the Manager and Host Manager pages from localhost only. So you will need to allow your IP address to access these pages from the remote system. You can do this by editing context.xml file:
For Host Manager app, open the context.xml file:
$sudo nano /opt/tomcat/webapps/host-manager/META-INF/context.xml
Add your server IP as shown below:
/opt/tomcat/webapps/host-manager/META-INF/context.xml
<Context antiResourceLocking="false" privileged="true" > <Valve className="org.apache.catalina.valves.RemoteAddrValve" allow="127.\d+.\d+.\d+|::1|0:0:0:0:0:0:0:1|your-ip-address" />
Save and close the file.
For Manager app, open the context.xml file:
$sudo nano /opt/tomcat/webapps/manager/META-INF/context.xml
Add your server IP as shown below:
/opt/tomcat/webapps/manager/META-INF/context.xml
<Context antiResourceLocking="false" privileged="true" > <Valve className="org.apache.catalina.valves.RemoteAddrValve" allow="127.\d+.\d+.\d+|::1|0:0:0:0:0:0:0:1|your-ip-address" />
Save and close the file.
Create Systemd Service File for Tomcat
Next, you will need to create a systemd unit file to manage Tomcat service. You can create it with the following command:
$sudo nano /etc/systemd/system/tomcat.service
Add the following lines:
/etc/systemd/system/tomcat.service
[Unit] Description=Tomcat servlet container After=network.target
[Service] Type=forking
User=tomcat Group=tomcat
Environment="JAVA_HOME=/usr/lib/jvm/default-java" Environment="JAVA_OPTS=-Djava.security.egd=file:///dev/urandom"
Environment="CATALINA_BASE=/opt/tomcat" Environment="CATALINA_HOME=/opt/tomcat" Environment="CATALINA_PID=/opt/tomcat/temp/tomcat.pid" Environment="CATALINA_OPTS=-Xms512M -Xmx1024M -server -XX:+UseParallelGC"
ExecStart=/opt/tomcat/bin/startup.sh ExecStop=/opt/tomcat/bin/shutdown.sh
[Install] WantedBy=multi-user.target
Save and close the file. Then, reload systemd daemon and start Tomcat service with the following command:
$$sudo systemctl daemon-reload
sudo systemctl start tomcat
You can check the status of Tomcat service with the following command:
$sudo systemctl status tomcat
You should see the following output:
        ● tomcat.service - Tomcat servlet container
Loaded: loaded (/etc/systemd/system/tomcat.service; disabled; vendor preset: enabled)
Active: active (running) since Mon 2019-07-22 10:20:25 UTC; 14s ago
Process: 6833 ExecStart=/opt/tomcat/bin/startup.sh (code=exited, status=0/SUCCESS)
Main PID: 6840 (java)
Tasks: 17 (limit: 1114)
CGroup: /system.slice/tomcat.service
└─6840 /usr/lib/jvm/default-java/bin/java -Djava.util.logging.config.file=/opt/tomcat/conf/logging.properties -Djava.util.logging.ma
Jul 22 10:20:25 ubuntu1804 systemd[1]: Starting Tomcat servlet container...
Jul 22 10:20:25 ubuntu1804 startup.sh[6833]: Tomcat started.
Jul 22 10:20:25 ubuntu1804 systemd[1]: Started Tomcat servlet container.
Access Tomcat Web Interface
Now, open your web browser and type the URL http://your-server-ip:8080. You will be redirected to the Tomcat default page:
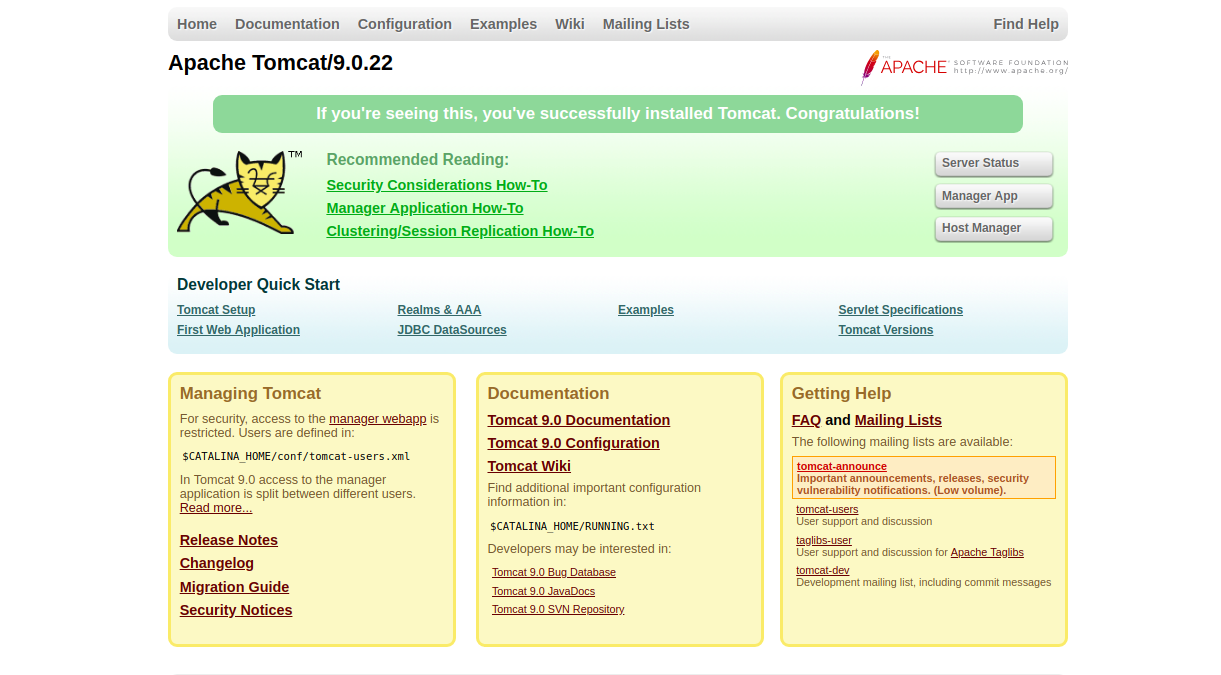
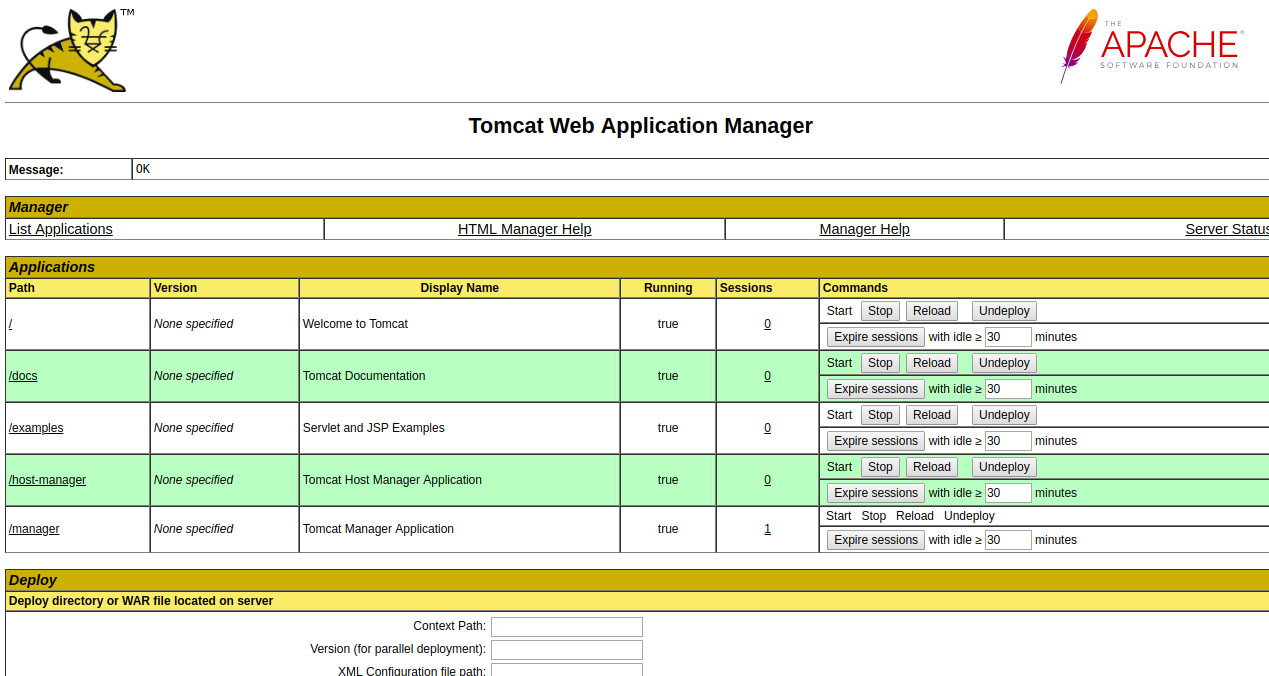
Now, click on the Manager App and Host Manager App to logon to the backend page as shown below:

Congratulations! you have successfully installed and configured Tomcat on Ubuntu 18.04 server.


 on Ubuntu 24.04")


0 COMMENTS