

Introduction
The LEMP software stack is a group of software that can be used to serve dynamic web pages and web applications. This is an acronym that describes a Linux operating system, with an Nginx web server. The backend data is stored in the MySQL database and the dynamic processing is handled by PHP.
In this guide, you'll install a LEMP stack on a Debian server using the packages provided by the operating system.
With this tutorial you will be able to follow all the steps to the installation of LEMP stack on Debian9.
Prerequisites
- Make sure you have the latest version of Debian9 server and a user with sudo privileges.
- Configure PPA for the PHP packages on your system.
$$$apt install ca-certificates apt-transport-https
wget -O /etc/apt/trusted.gpg.d/php.gpg https://packages.sury.org/php/apt.gpg
sh -c 'echo "deb https://packages.sury.org/php/ $(lsb_release -sc) main" > /etc/apt/sources.list.d/php.list'
Step 1 - Install the Nginx Web Server
Nginx is an open source software for web serving which is used by many websites.
This procedure will be made directly from Debians9 repositories. In other words, you can use the apt package to complete this installation.
The first step is to update the local package index, then you can install the server:
$$apt update
apt install nginx
Now make sure the system is running by typing this:
$$systemctl start nginx
systemctl enable nginx
You can check the status of Nginx by typing:
$systemctl status nginx
The output should be:
nginx.service - A high performance web server and a reverse proxy server
Loaded: loaded (/lib/systemd/system/nginx.service; enabled; vendor preset: enabled)
Active: active (running) since Mon 2019-06-17 13:27:34 -03; 4min 56s ago
Docs: man:nginx(8)
Main PID: 48194 (nginx)
CGroup: /system.slice/nginx.service
├─48194 nginx: master process /usr/sbin/nginx -g daemon on; master_process on;
└─48195 nginx: worker process
Jun 17 13:27:34 marciorubens systemd[1]: Starting A high performance web server and a reverse proxy server...
When you have your server's IP address, enter it into your browser's address bar:
http://your_server_ip
You should see the default Nginx landing page:
This page is included with Nginx to show you that the server is running correctly.
Step 2 - Install MySQL/MariaDB to Manage Site Data
Once you have a web server, it’s time to install a database management system to manage the data of your website. You can both use MySQL or MariaDB, that varies according to the developer’s preferences.
Installing MySQL
To install MySQL, just type:
$apt install mysql-server
Then run the following script to secure installation and to modify the insecure defaults:
$mysql_secure_installation
As we haven’t set the root account yet, just hit ENTER and then set the root password.
Just keep pressing ENTER and Y to all the other questions.
Installing MariaDB
To install MariaDB, just type:
$apt install mariadb-server php7.3-mysql
Then make sure it’s enabled to start automatically on reboot by typing:
$$systemctl start mariadb
systemctl enable mariadb
Run the mysql_secure_installation script:
$mysql_secure_installation
Answer yes (y) to all the following questions remove anonymous users? disallow root login remotely? remove test database and access to it? reload privilege tables now?
Log in to MariaDB’s SQL shell
$mysql -u root -p
Create a database and user with permission to access. Replace testdb and testuser with other names for your setup. Replace password with another password:
mysql>mysql>mysql>mysql>CREATE DATABASE testdb;
CREATE USER 'testuser' IDENTIFIED BY 'password';
GRANT ALL PRIVILEGES ON testdb.* TO 'testuser';
quit
Done that, now it’s time to install PHP
Step 3 - Installing PHP
Nginx doesn’t have PHP as other web servers, which means you’ll need to install fastCGI process manager:
$apt install php7.3-fpm
Now the PHP components are installed, but they need to be set up.
Step 4 - Setting Nginx to Use PHP Processor
You have all the required items well installed. The next step is to configure Nginx to use the PHP processor for dynamic content. Replace your_domain by your domain’s name.
First, create a directory in /var/www to keep the PHP site:
$mkdir /var/www/your_domain
Second, open a new setting file in Nginx’s directory:
$nano /etc/nginx/sites-available/your_domain
In the blank file generated, paste the following configuration:
/etc/nginx/sites-available/your_domain
server { listen 80; listen [::]:80;
root /var/www/your_domain
index index.php index.html index.htm;
server_name your_domain;
location / { try_files $uri $uri/ =404; }
location ~ .php$ { include snippets/fastcgi-php.conf; fastcgi_pass unix:/var/run/php/php7.3-fpm.sock; } }
This setting is very basic and listens on port 80 and from the root that we have just created. It can only respond to requests provided by server_name and files ending in .php.
Then activate your settings by linking the configuration file from Nginx’s sites-enabled directory:
$ln -s /etc/nginx/sites-available/your_domain.conf /etc/nginx/sites-enabled/
This command will make Nginx use the settings the next time it’s reloaded. But first, test the configuration by typing:
$nginx -t
Before next step, reload Nginx to update the changes:
$systemctl reload nginx
Step 5 - Test Configuration by Creating a PHP File
Now that everything is set up, you can test the configuration to validate that Nginx can open .php files to your PHP processor.
For this, just type:
$nano /var/www/your_domain/info.php
Then paste the following in the new file created by the last command:
/var/www/your_domain/info.php
<?php phpinfo(); ?>
Now access the page you’ve just created ( http://your_domainorIP/info.php ) using your web browser by entering your server’s domain name or IP address followed by /info.php:
Then you should see an image like this:
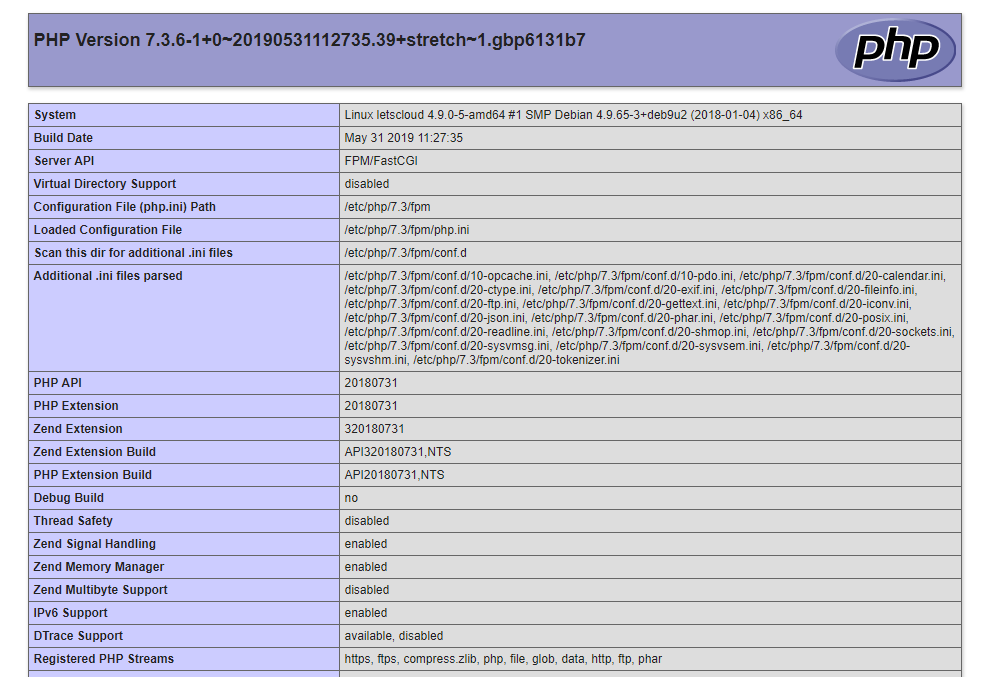
If your browser shows this image, that means you’ve set up PHP processing with Nginx with success!
Now it’s best to remove this page, once you make sure it has all worked. Just type:
$rm /var/www/your_domain/info.php
Conclusion
Now you have a LEMP stack running on your Debian server. You shall have a flexible foundation for serving content to your web site’s visitors.


0 COMMENTS