

The Cockpit is a free and open-source web console tool for Linux administrators and used for day to day administrative and operations tasks. Initially, Cockpit was only available for RHEL based distributions, but now it is available for almost all Linux distributions.
Starting containers, managing storage, configuring networks and inspecting logs is easy.
Prerequisites
- Linux servers running 20.10
- root privileges
- 3 GB or more of Ram
- 2 CPUs or 4 CPUs
Features
- Manage multiple Cockpit machines from a single Cockpit session
- Create and manage Docker containers
- Create and manage KVM, oVirt Virtual Machines
- Modify the network settings
- Manage user accounts
- Web-based shell in a terminal
- View system performance in a graph.
- Collect system configuration and diagnostic information with the use of sosreport.
Goals
Install a Cockpit is a free and open source web console tool for Linux on Ubuntu 20.10
- How to install Cockpit
- Access Cockpit Web Console
- Install Apache and PHP 7.x
So, let's start the installation
Step 1 - Install Apache and PHP 7.x
Apache is available within Ubuntu default software repositories, so simply run the following command to install Apache web server:
#sudo apt install apache2
To re-enable the service to start up at boot, type:
#sudo systemctl enable apache2
After installing Apache, start the Apache server and enable it to start at boot time:
#sudo systemctl start httpd
Check with the systemd init system to make sure the service is running by typing:
#sudo systemctl status apache2
[root@srv-br ~]# systemctl status httpd
● httpd.service - Web server Apache
   Loaded: loaded (/usr/lib/systemd/system/httpd.service; enabled; vendor preset: disabled)
   Active: active (running) since Tue 2020-11-24 03:21:33 UTC; 16h ago
  Process: 4225 ExecReload=/usr/local/apache/bin/apachectl graceful (code=exited, status=0/SUCCESS)
 Main PID: 3949 (httpd)
   CGroup: /system.slice/httpd.service
           ├─3949 /usr/local/apache/bin/httpd -k start
           ├─4232 /usr/local/apache/bin/httpd -k start
           ├─4233 /usr/local/apache/bin/httpd -k start
           ├─4305 /usr/local/apache/bin/httpd -k start
           └─4367 /usr/local/apache/bin/httpd -k start

Nov 24 03:21:33 srv-br.sinesio.com.br systemd[1]: Starting Web server Apache...
Nov 24 03:21:33 srv-br.sinesio.com.br systemd[1]: Started Web server Apache.
Nov 24 03:21:34 srv-br.sinesio.com.br systemd[1]: Reloading Web server Apache.
Nov 24 03:21:34 srv-br.sinesio.com.br systemd[1]: Reloaded Web server Apache.
Nov 24 03:21:37 srv-br.sinesio.com.br systemd[1]: Reloading Web server Apache.
Nov 24 03:21:37 srv-br.sinesio.com.br systemd[1]: Reloaded Web server Apache.
After installing PHP 7.2, you can check the PHP version installed on the server with the following command:
#php -v
The output should be similar to the one below:

PHP 7.2.19 (cli) (built: Jun 2 2019 09:49:05) ( NTS )

Copyright (c) 1997-2018 The PHP Group

Zend Engine v3.2.0, Copyright (c) 1998-2018 Zend Technologies
Now we can download and install Cockpit.
Step 2 - Installation of Cockpit on Ubuntu
Since Ubuntu 17.04, cockpit package is available in the default package repositories. So the installation has become straight forward using apt command:
#sudo apt update
#sudo apt install cockpit -y
Step 3 - Start Cockpit
Once cockpit package is installed successfully then start its service using the following systemctl command:
#sudo systemctl start cockpit
Run the following to verify the status of cockpit service:
#sudo systemctl status cockpit
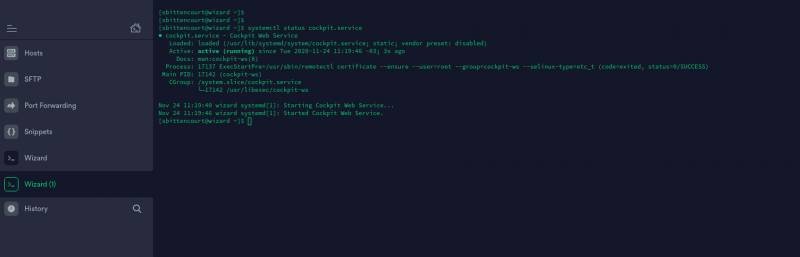
Above output confirms that cockpit has been started successfully.
Step 4 - Access Cockpit Web Console
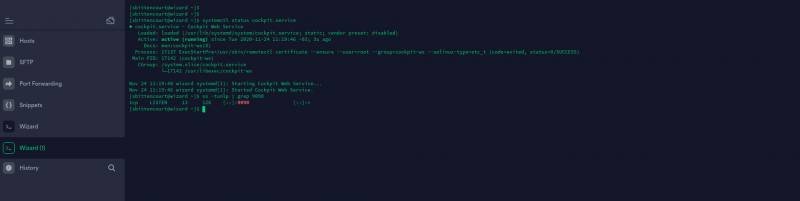
Cockpit listen its service on 9090 tcp port, in case firewall is configured on your Ubuntu 20.10 then you have to allow 9090 port in firewall.
#ss -tunlp | grep 9090
Run following ‘ufw’ command to allow cockpit port in OS firewall:
#sudo apt install ufw -y
#sudo ufw allow 9090/tcp
Rule added
Now access Cockpit web console using following url:
https://your_server_ip:9090
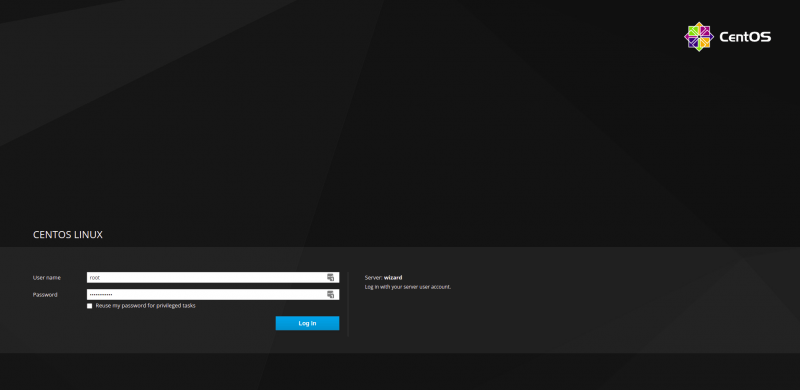
Use the root credentials or sudo user credentials to login, in my case ‘root’ is the sudo user for my setup.
The above screen confirms that we have successfully able to access and login cockpit dashboard. Let's look at the various administration tasks that can be done from this dashboard.
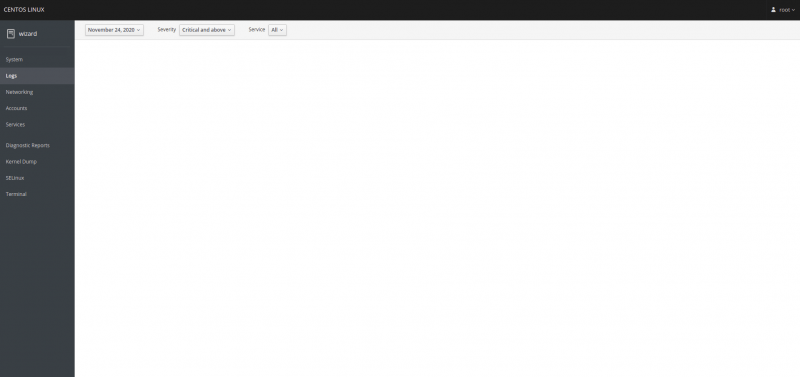
Step 5 - View System Logs
From the ‘Logs’ tab we can view our system logs. System logs can also be viewed based on its severity.
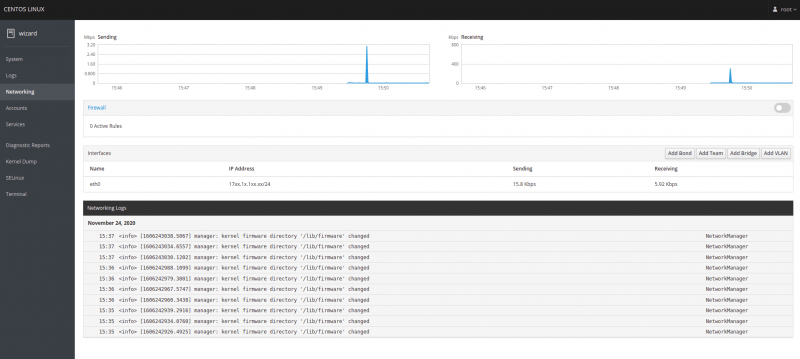
Step 6 - Manage Networking with Cockpit
System networking can easily be managed via networking tab from cockpit web console. Here we can view our system Ethernet cards speed. We have the features like creating bonding and bridge interface. Apart from this we can also add VLAN tagged interfaces on our system.
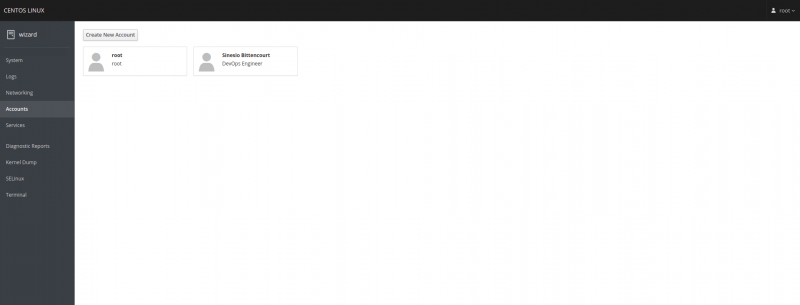
Step 7 - Manage Local Accounts
If you want to manage local account then choose ‘Accounts’ tab from web console, here you can create new local accounts and change the parameters of existing users like password reset, roles and lock account.
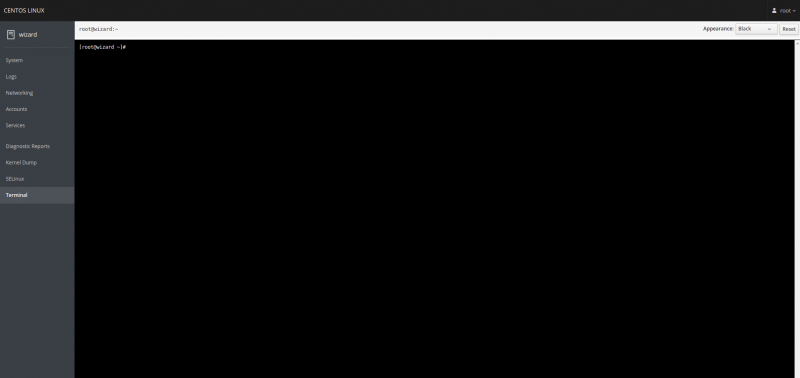
Step 8 - Terminal Access
If you wish to access terminal of your system from cockpit dashboard then choose “Terminal” tab.
That’s all from this tutorial, I hope you got an idea on how to install and use Cockpit Web console effectively on Ubuntu 20.10. Please don’t hesitate to share your valuable feedback and comments.
Conclusion
That’s it. You have successfully installed Cockpit CMS on your Ubuntu 20.10. For more information about how to manage your Cockpit installation, please refer to the official Cockpit documentation HERE!
If you have any questions about installing and configuring, please contact us in the comments.


 on Ubuntu 24.04")


0 COMMENTS