

Introduction
LAMP stack is the acronym to a group of open source softwares used to make web servers work. It stands for Linux, Apache, MariaDB, and PHP. Once you have Fedora, you won’t need to worry about the Linux part.
In this article you will learn how to install all the rest: Apache, MariaDB and PHP on Fedora 27.
Prerequisites
Before you start, make sure you have Fedora 27 with all its updates. For this, use the command:
$dnf remove yum-utils && dnf update --refresh
Step1 - Setup Apache Web Server
Apache is a web server used by many websites on the internet. It is considered flexible when it comes to customizing and its security can be improved with some modules.
To install Apache in Fedora 27 you just have to type the following command:
$dnf install httpd
After the installation process is complete, enter the below command to power on Apache:
$systemctl start httpd
You’ll know if Apache is working by opening your IP address in a web browser. http://server_IP/
If you see the default Apache page, everything has worked.

How to find your Server’s IP address
You can run the following command to reveal your server’s IP address.
$ifconfig eth0 | grep inet | awk '{ print $2 }'
Otherwise you might have your firewall blocking connection on port 80, then it will be necessary to use the following commands to open these ports:
$$firewall-cmd --permanent –add-service=http
firewall-cmd --permanent –add-service=https
Next, make sure Apache will start when the system reboots. You can do that typing the following command:
$systemctl enable httpd
Don’t forget that the Apache directory for your site is /var/www/html/, so put your files in this directory.
Step 2 - Install MariaDB/MySQL
To install MariaDB, an open source database, you just have to issue the following commands:
$dnf install mariadb-server
After installing MariaDB on Fedora 27, make sure it will start at the system boot by typing these commands:
$$systemctl start mariadb
systemctl enable mariadb
As the user won’t have a root password, you’ll have to enter mysql_secure_installation command to choose a new password and set mysql secure installation.
$/usr/bin/mysql_secure_installation
Since you just installed MySQL, you most likely won’t have one, so leave it blank by pressing enter.
Enter current password for root (enter for none):
OK, successfully used password, moving on...
Then the prompt will ask you if you want to set a root password. Go ahead and choose Y and follow the instructions.
Fedora automates the process of setting up MySQL, asking you a series of yes or no questions.
It’s easiest just to say Yes to all the options. At the end, MySQL will reload and implement the new changes.
By default, a MySQL installation has an anonymous user, allowing anyone
to log into MySQL without having to have a user account created for
them.  This is intended only for testing, and to make the installation
go a bit smoother.  You should remove them before moving into a
production environment.


Remove anonymous users? [Y/n] y


... Success!


Normally, root should only be allowed to connect from 'localhost'.  This
ensures that someone cannot guess at the root password from the network.


Disallow root login remotely? [Y/n] y
... Success!


By default, MySQL comes with a database named 'test' that anyone can
access.  This is also intended only for testing, and should be removed
before moving into a production environment.


Remove test database and access to it? [Y/n] y


Dropping test database...


... Success!


Removing privileges on test database...


... Success!


Reloading the privilege tables will ensure that all changes made so far
will take effect immediately.


Reload privilege tables now? [Y/n] y


Cleaning up...


... Success!


All done!  If you've completed all of the above steps, your MySQL
installation should now be secure.


Thanks for using MySQL!
Step 3 - Install PHP with modules
To generate dynamic content on your websites, PHP is a very useful programming language. Just like MariaDB, it is widely used across the internet.
The installation process is simple, you just have to issue these commands:
$dnf install php php-mysqlnd php-gd php-mcrypt php-mbstring
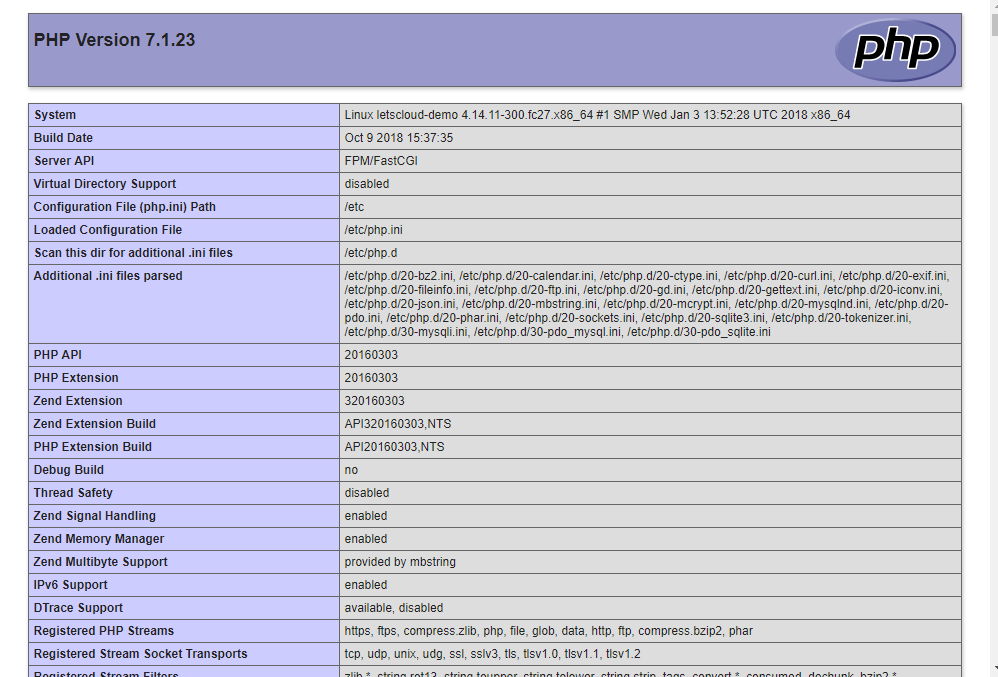
After the installation, you should test PHP by creating a PHP file under Apache root directory. Then you just have to restart Apache service to verify the info on your web browser by navigating to http://server_IP/info.php .
$echo "<?php phpinfo(); ?>" > /var/www/html/info.php
$systemctl restart httpd
Conclusion
Once you have all installed and tested, your LAMP stack setup is complete. You have all the resources to start your projects.
If there’s any question about this process, leave it in a comment below.


0 COMMENTS